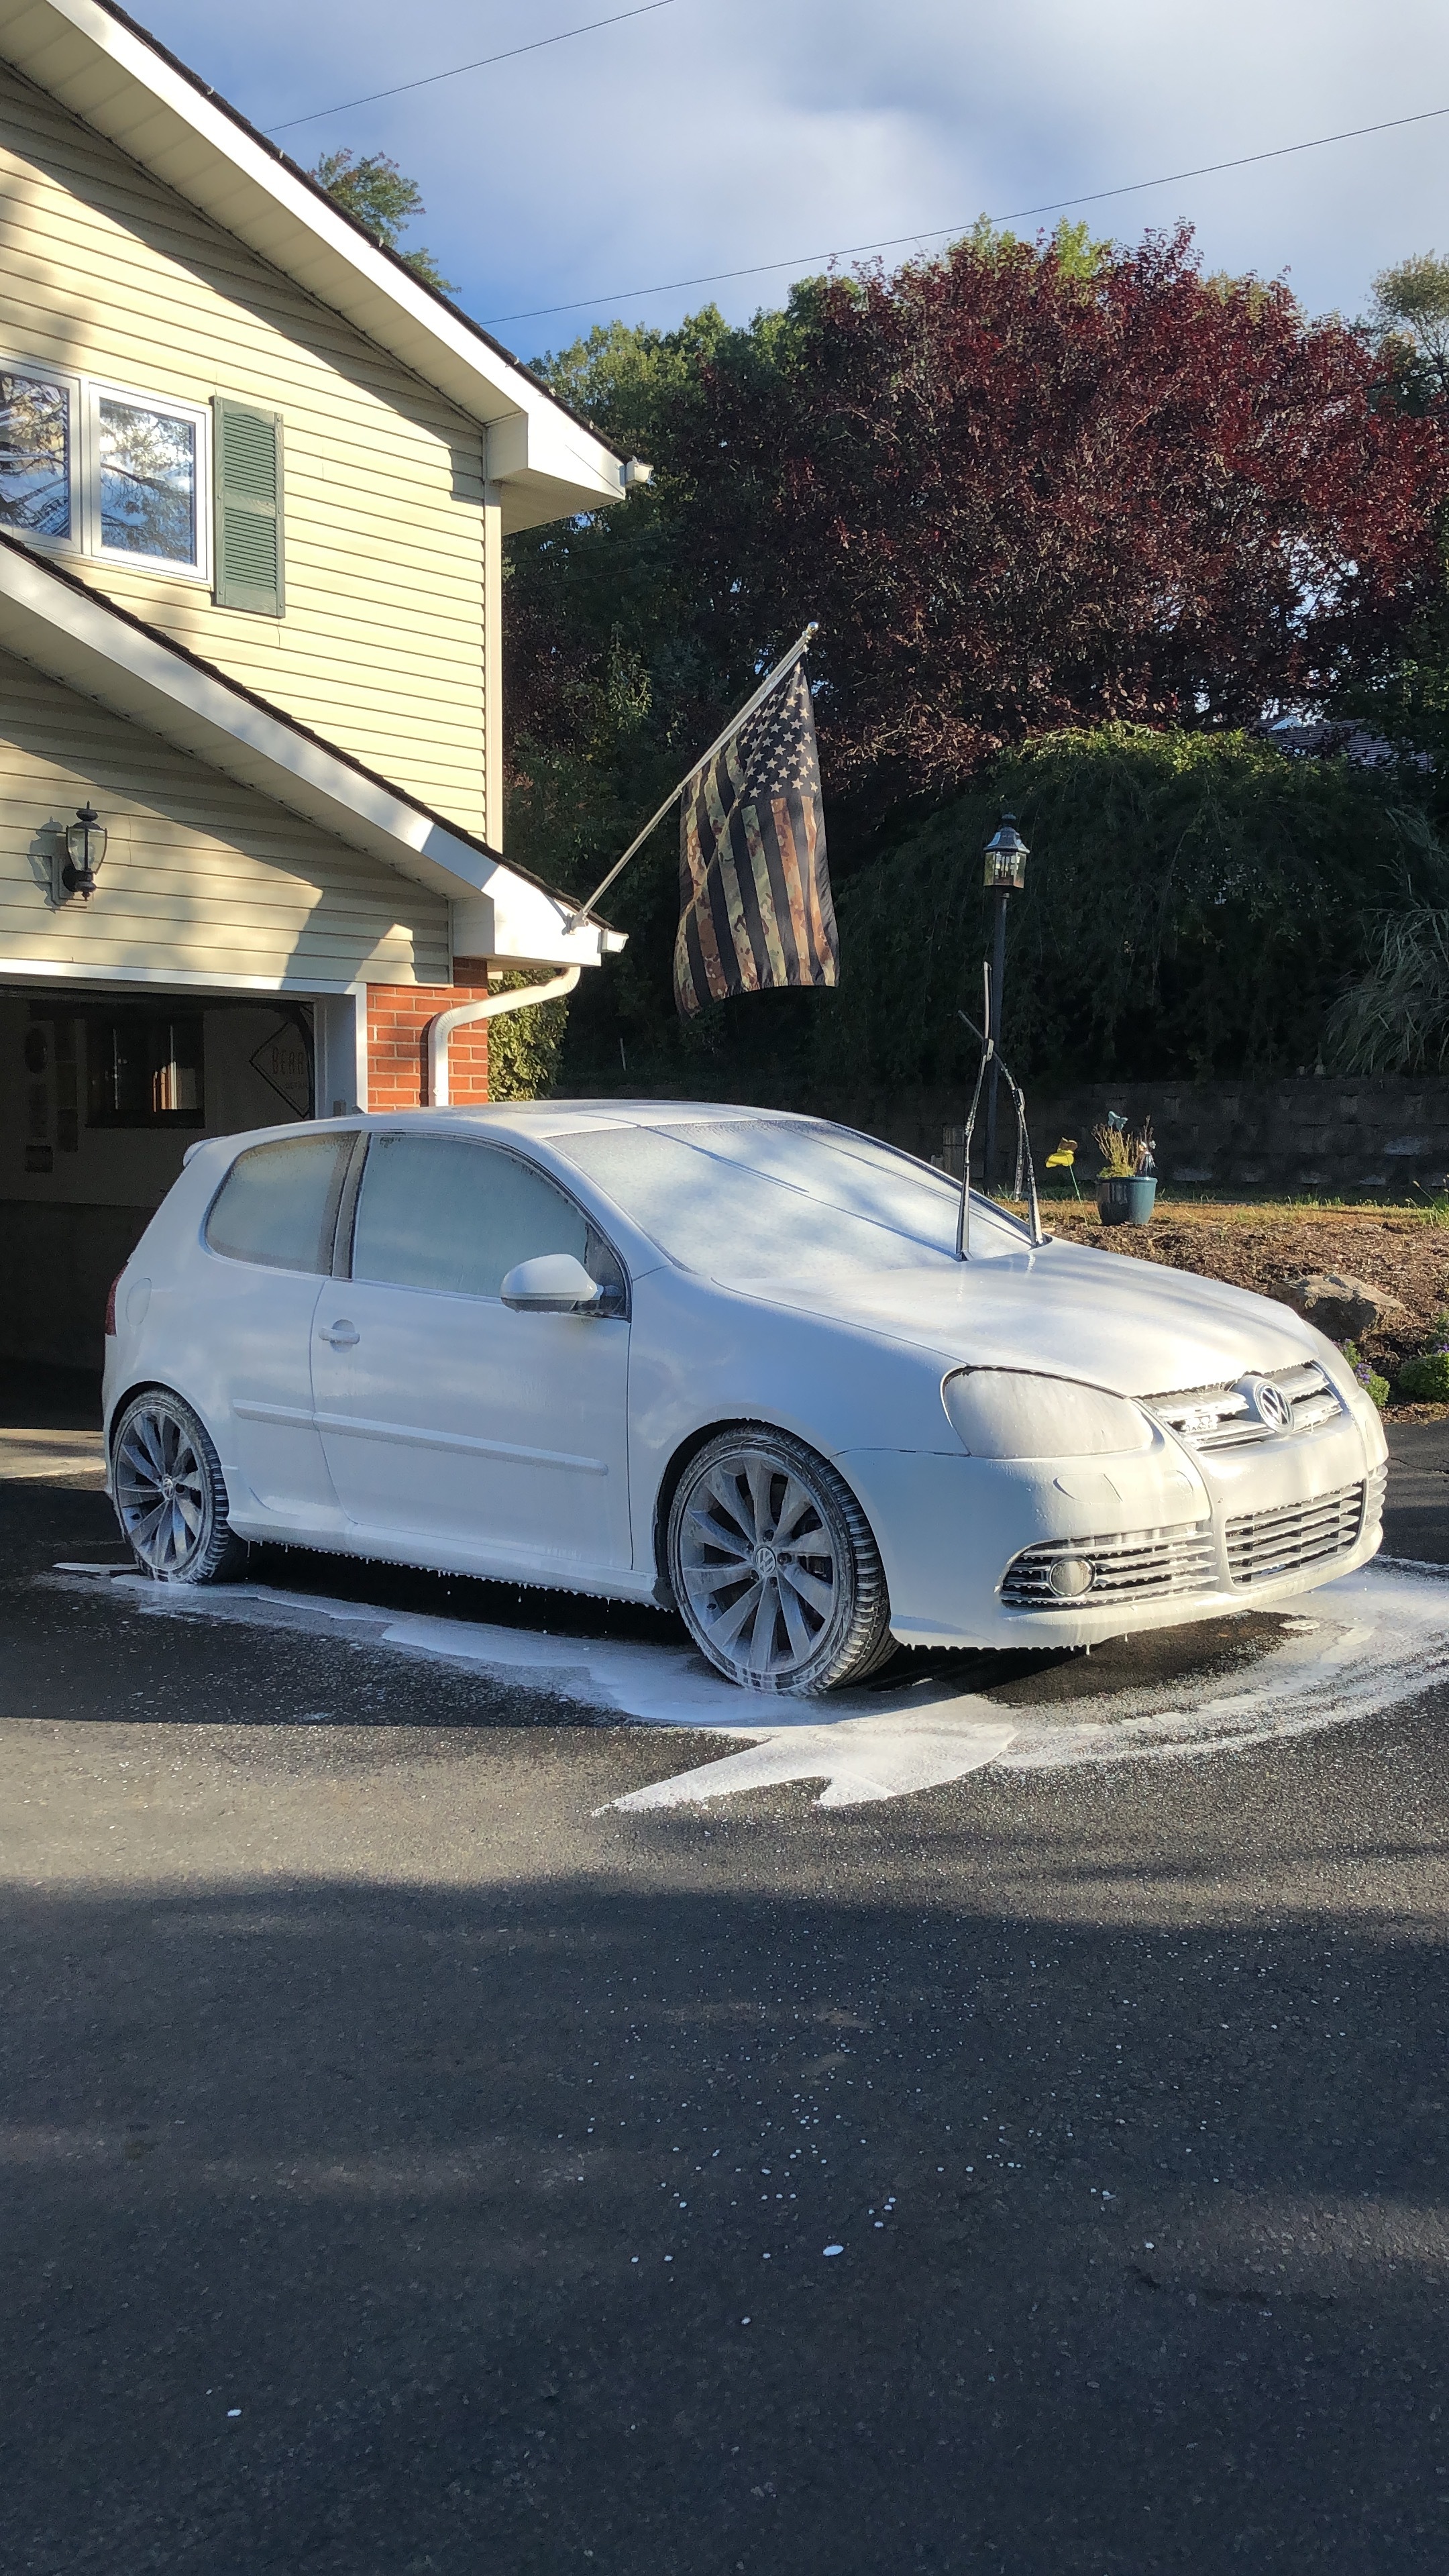
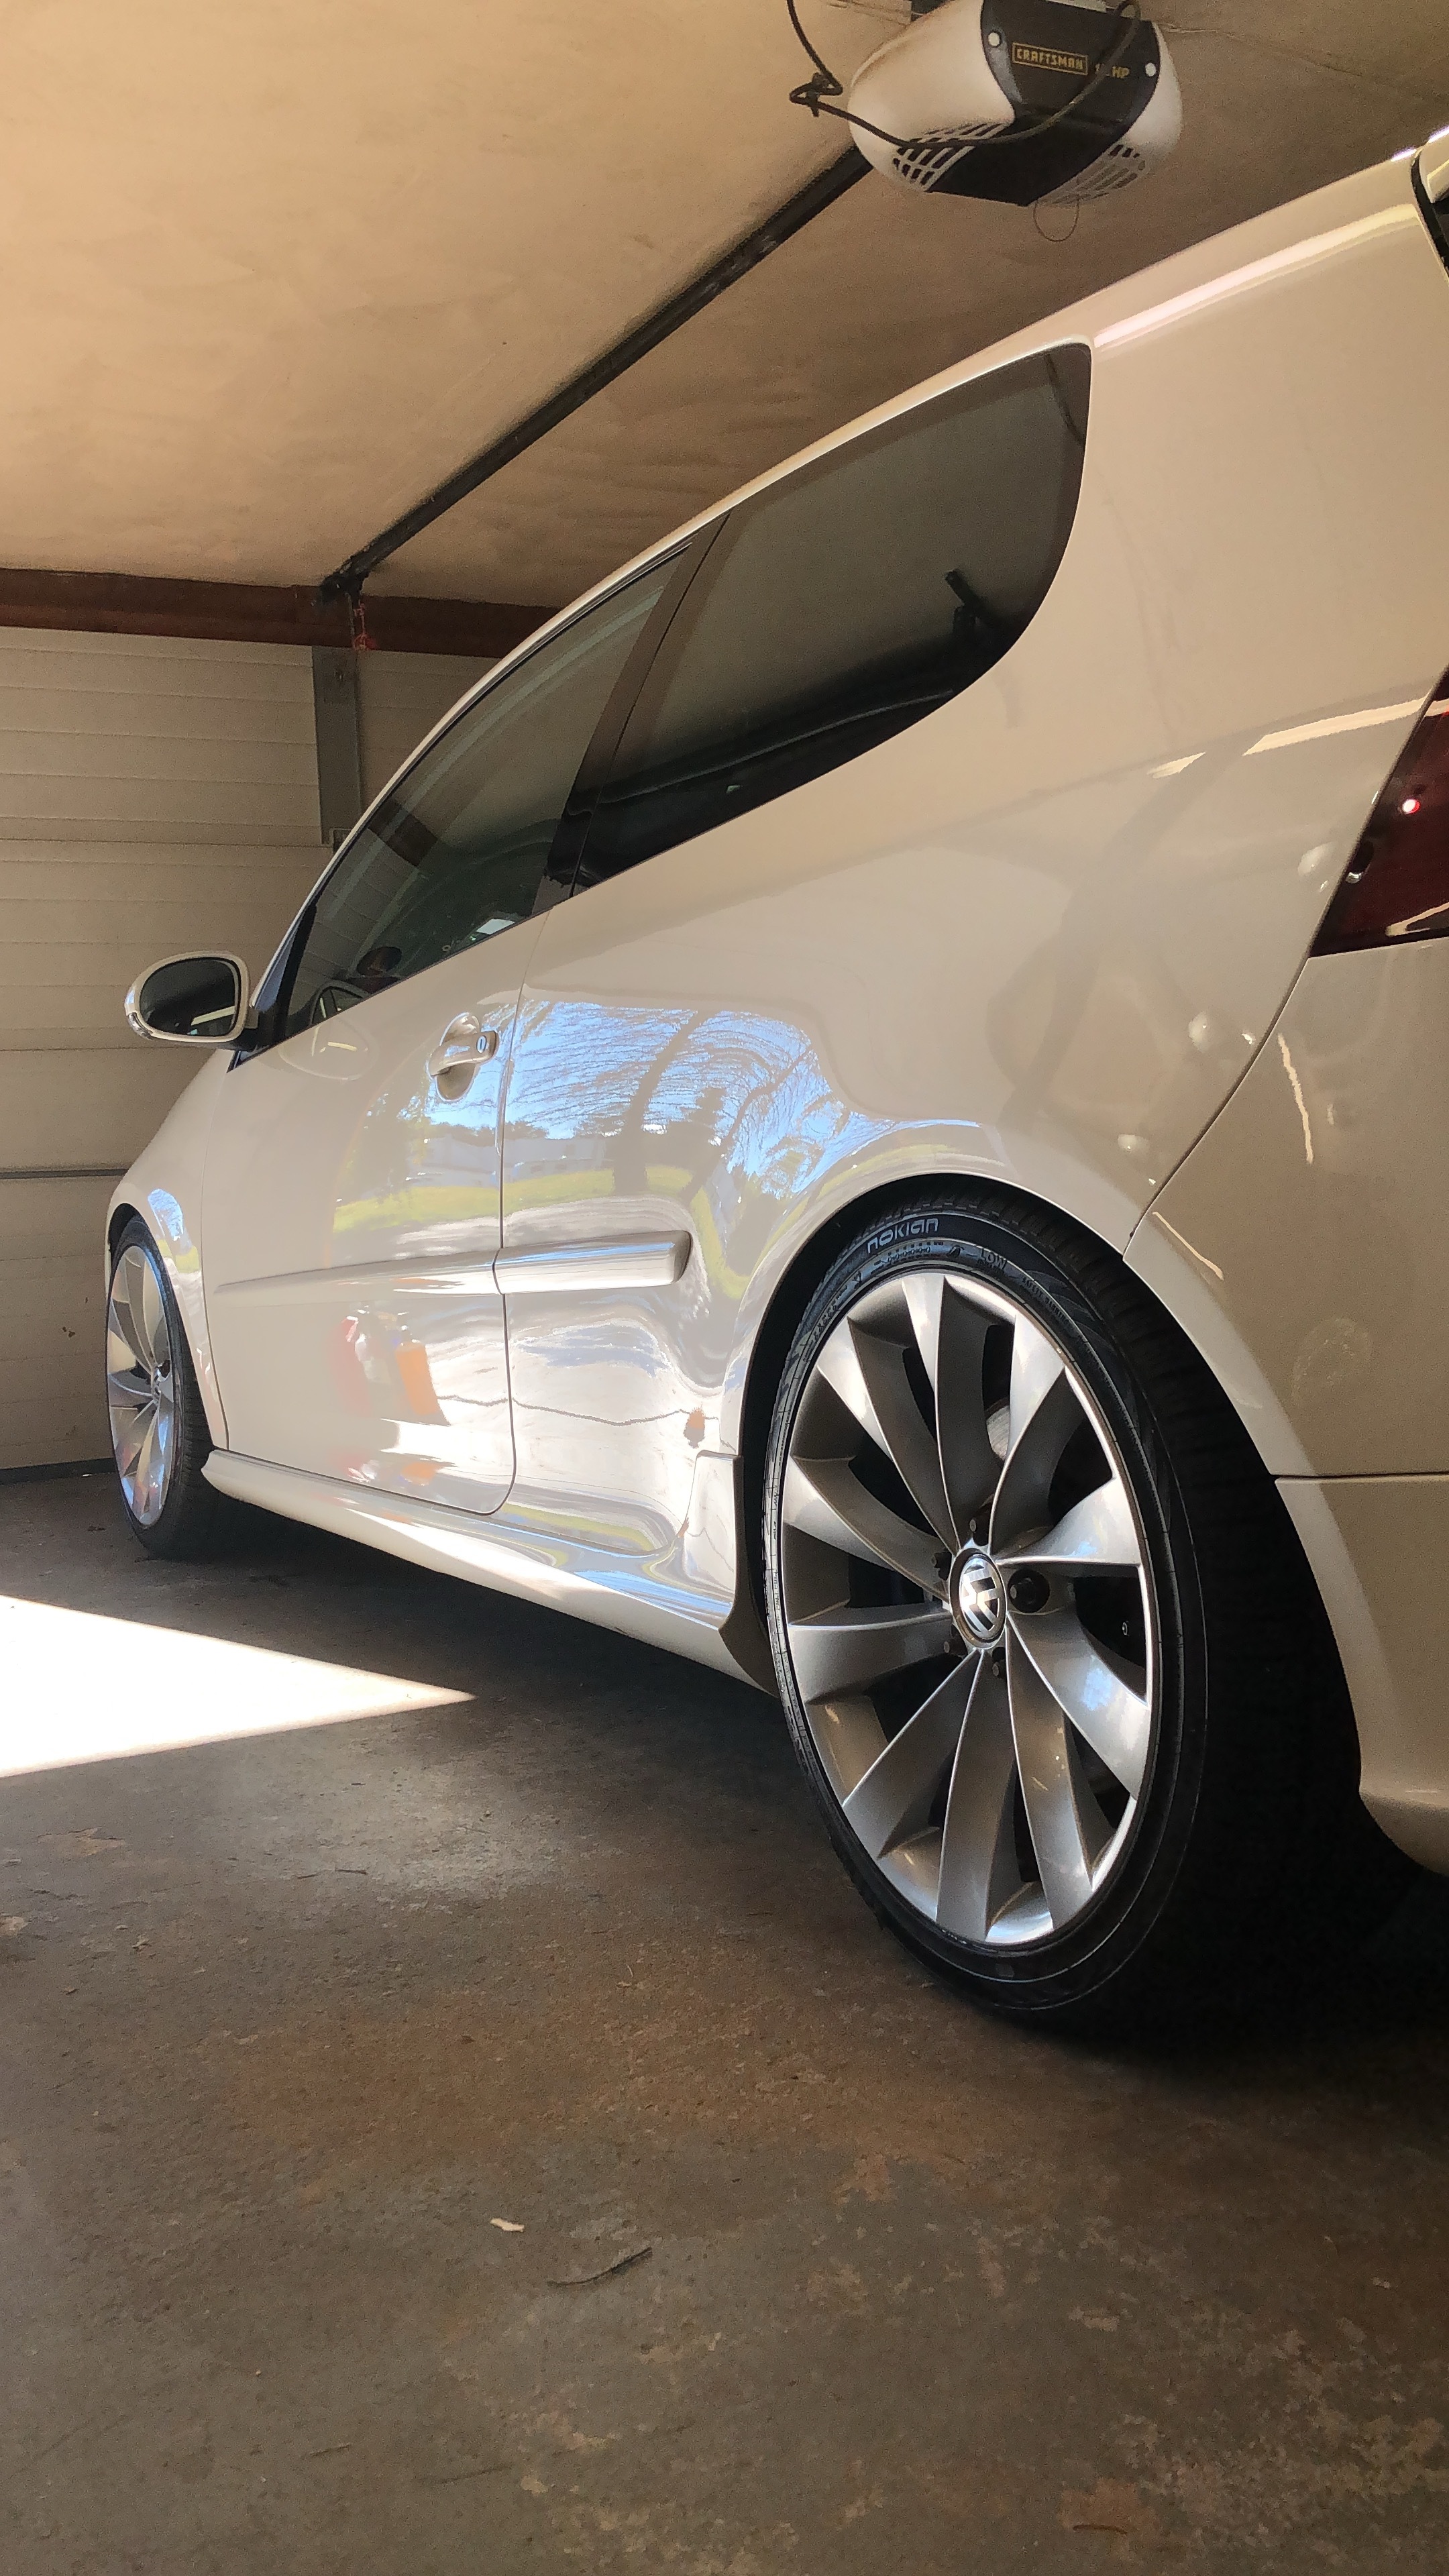
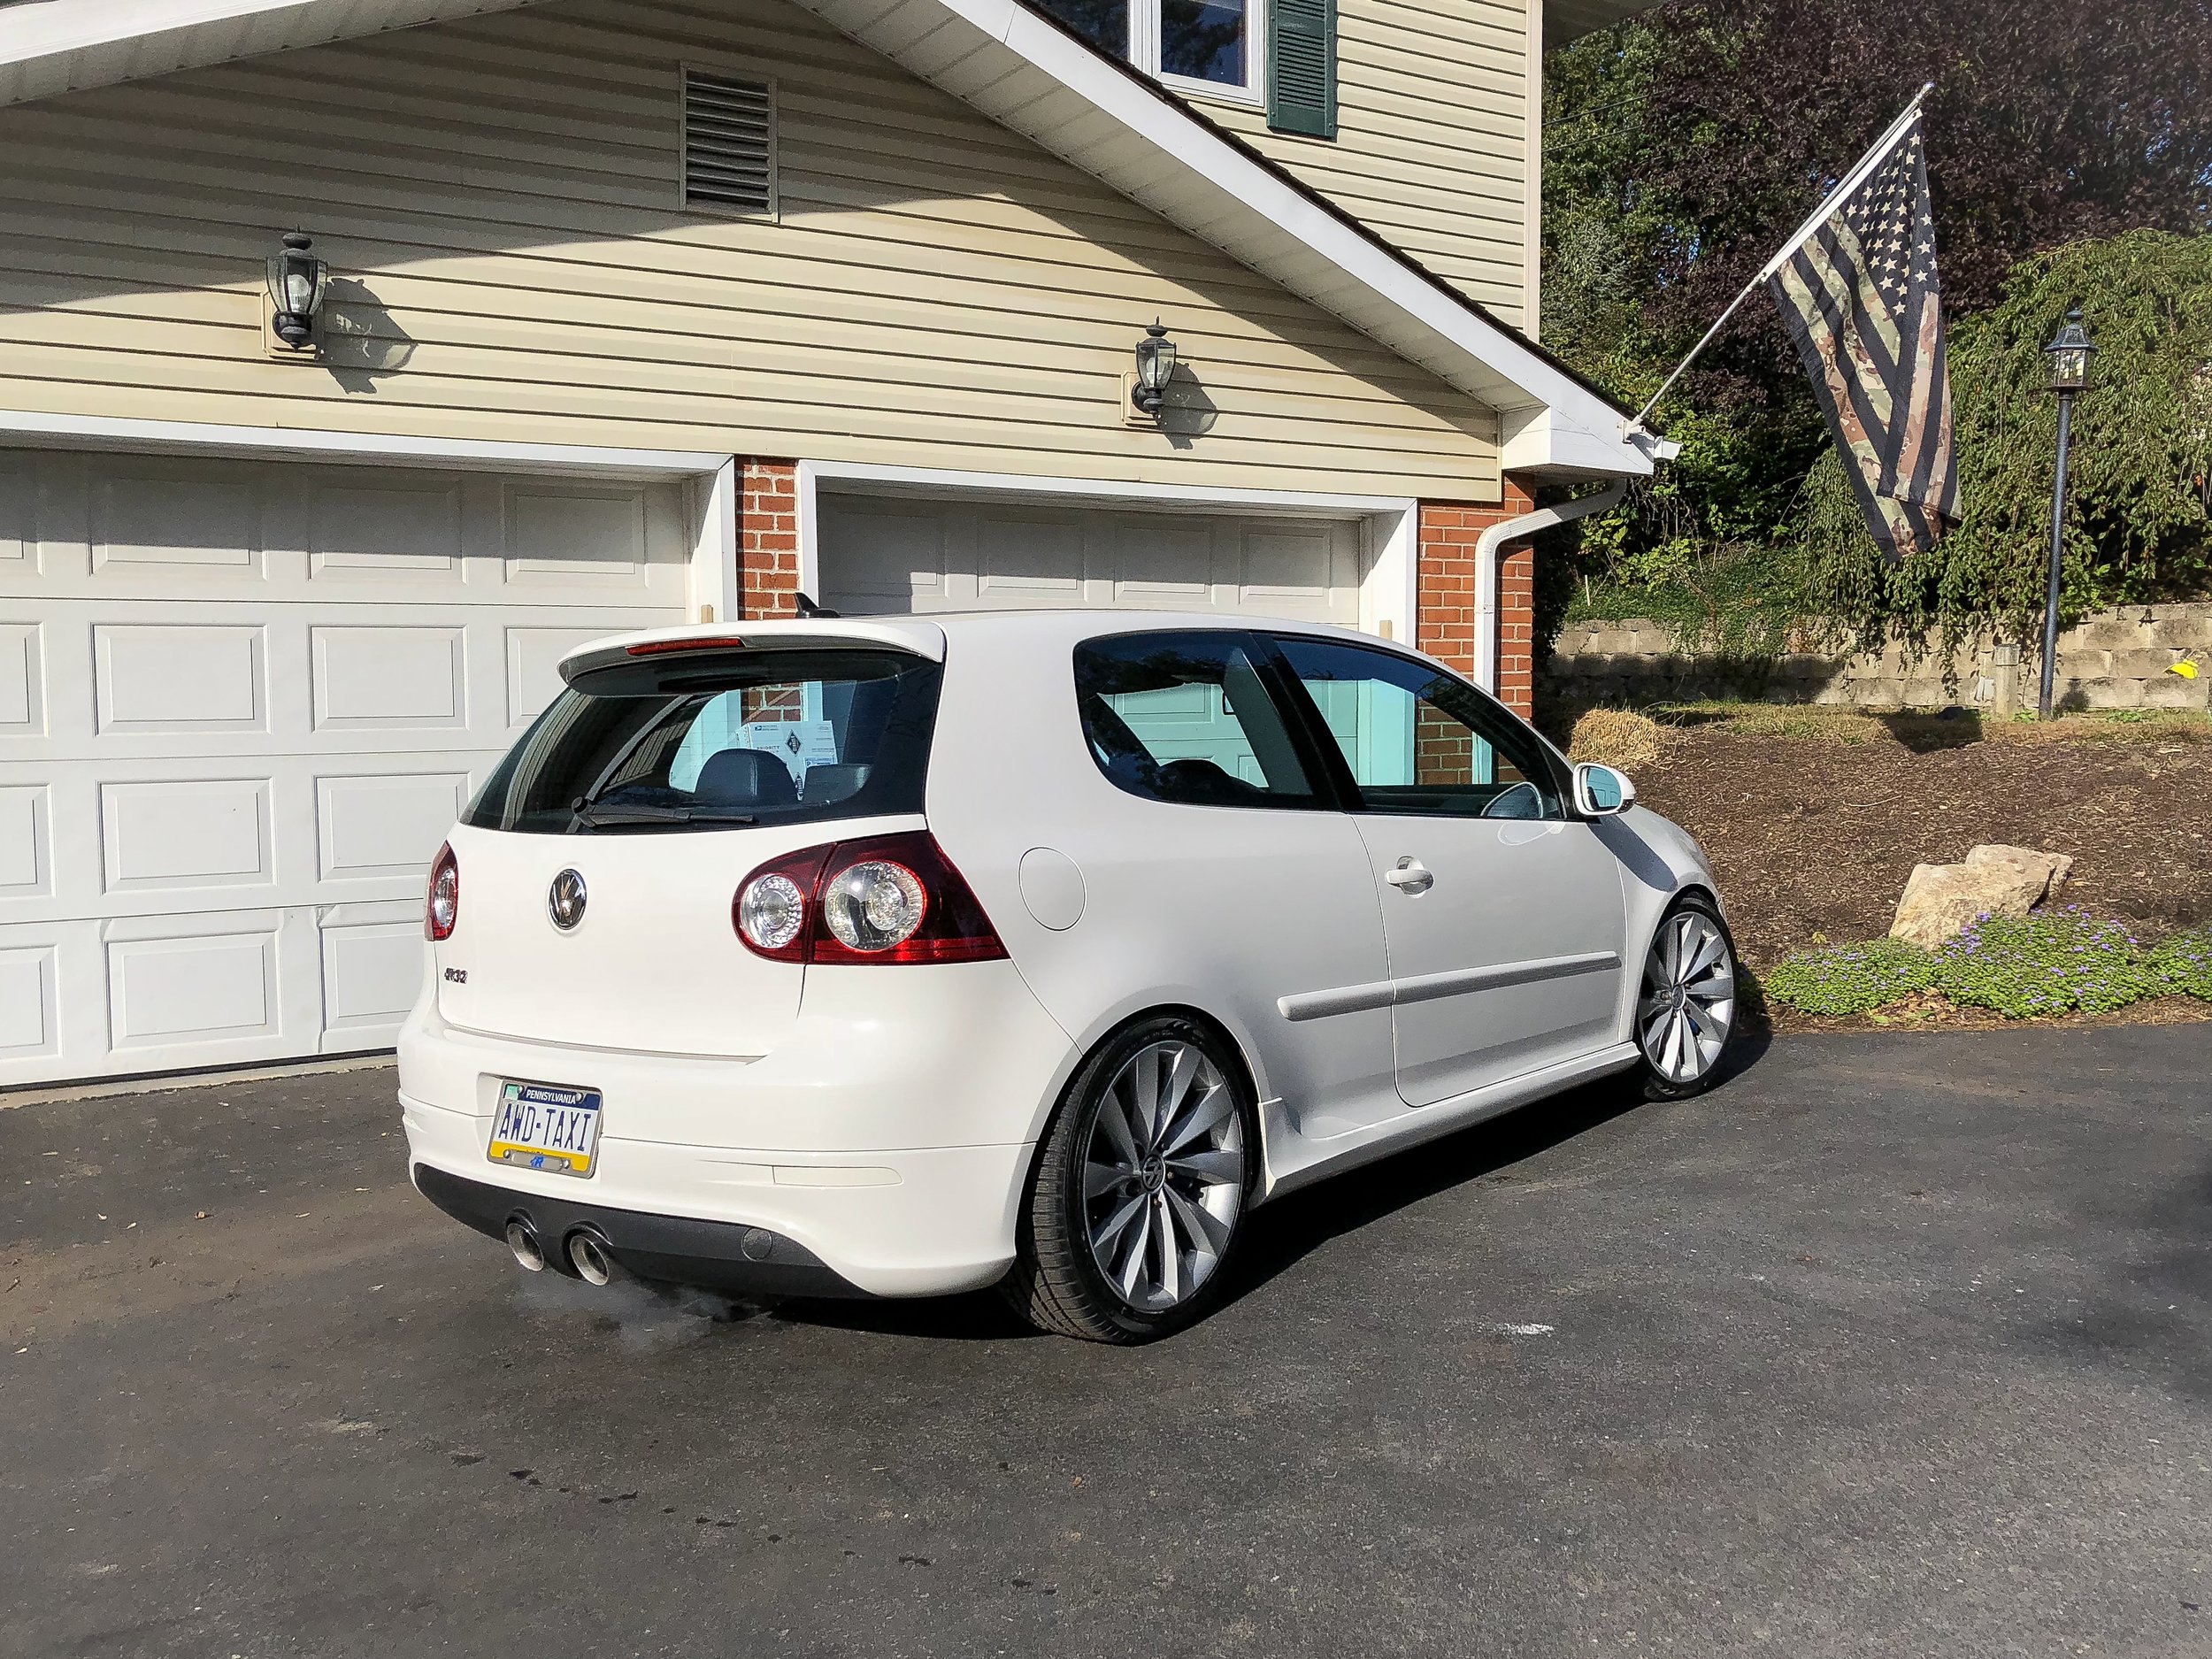
If you have been anything more than a casual Volkswagen owner, then you are aware of what the Golf R32 is. You don’t need me to tell you that the world got its first all-wheel-drive, six cylinder, hot hatch back in 2002 (with the States getting it in 2004) and you don’t need me to tell you that it is thought to be one of the best hot hatches ever made. When the second generation of R32 was released in the States in late 2007, many people were disappointed with one decision in particular: the transmission. Here in 2021, it is super common for a sports car to have paddle shifters but thirteen years ago, this was considered to be a sin, one that I believe still plagues the Mk5 R32 to this day.
In the Summer of 2010, I was working as a service consultant at a Volkswagen dealership in Allentown, Pennsylvania, and was driving around in the newest car I had ever purchased; a 2008 VW GLI. This car really was a pivotal car for myself and my family as it was the vehicle that transitioned me out of pickup trucks and into cars, with the growing of my family. It brought my first daughter home from the hospital when she was born and would see many family trips. I had convinced my wife to purchase a 2008 VW GTI (four door) for her daily driver, seeing that it had more room and easier access to the rear seats in comparison to her 1999 Honda Accord coupe. In less than a year though, I had no idea that I would find myself wanting a Mk5 R32 but not bad enough to actually go searching for one.
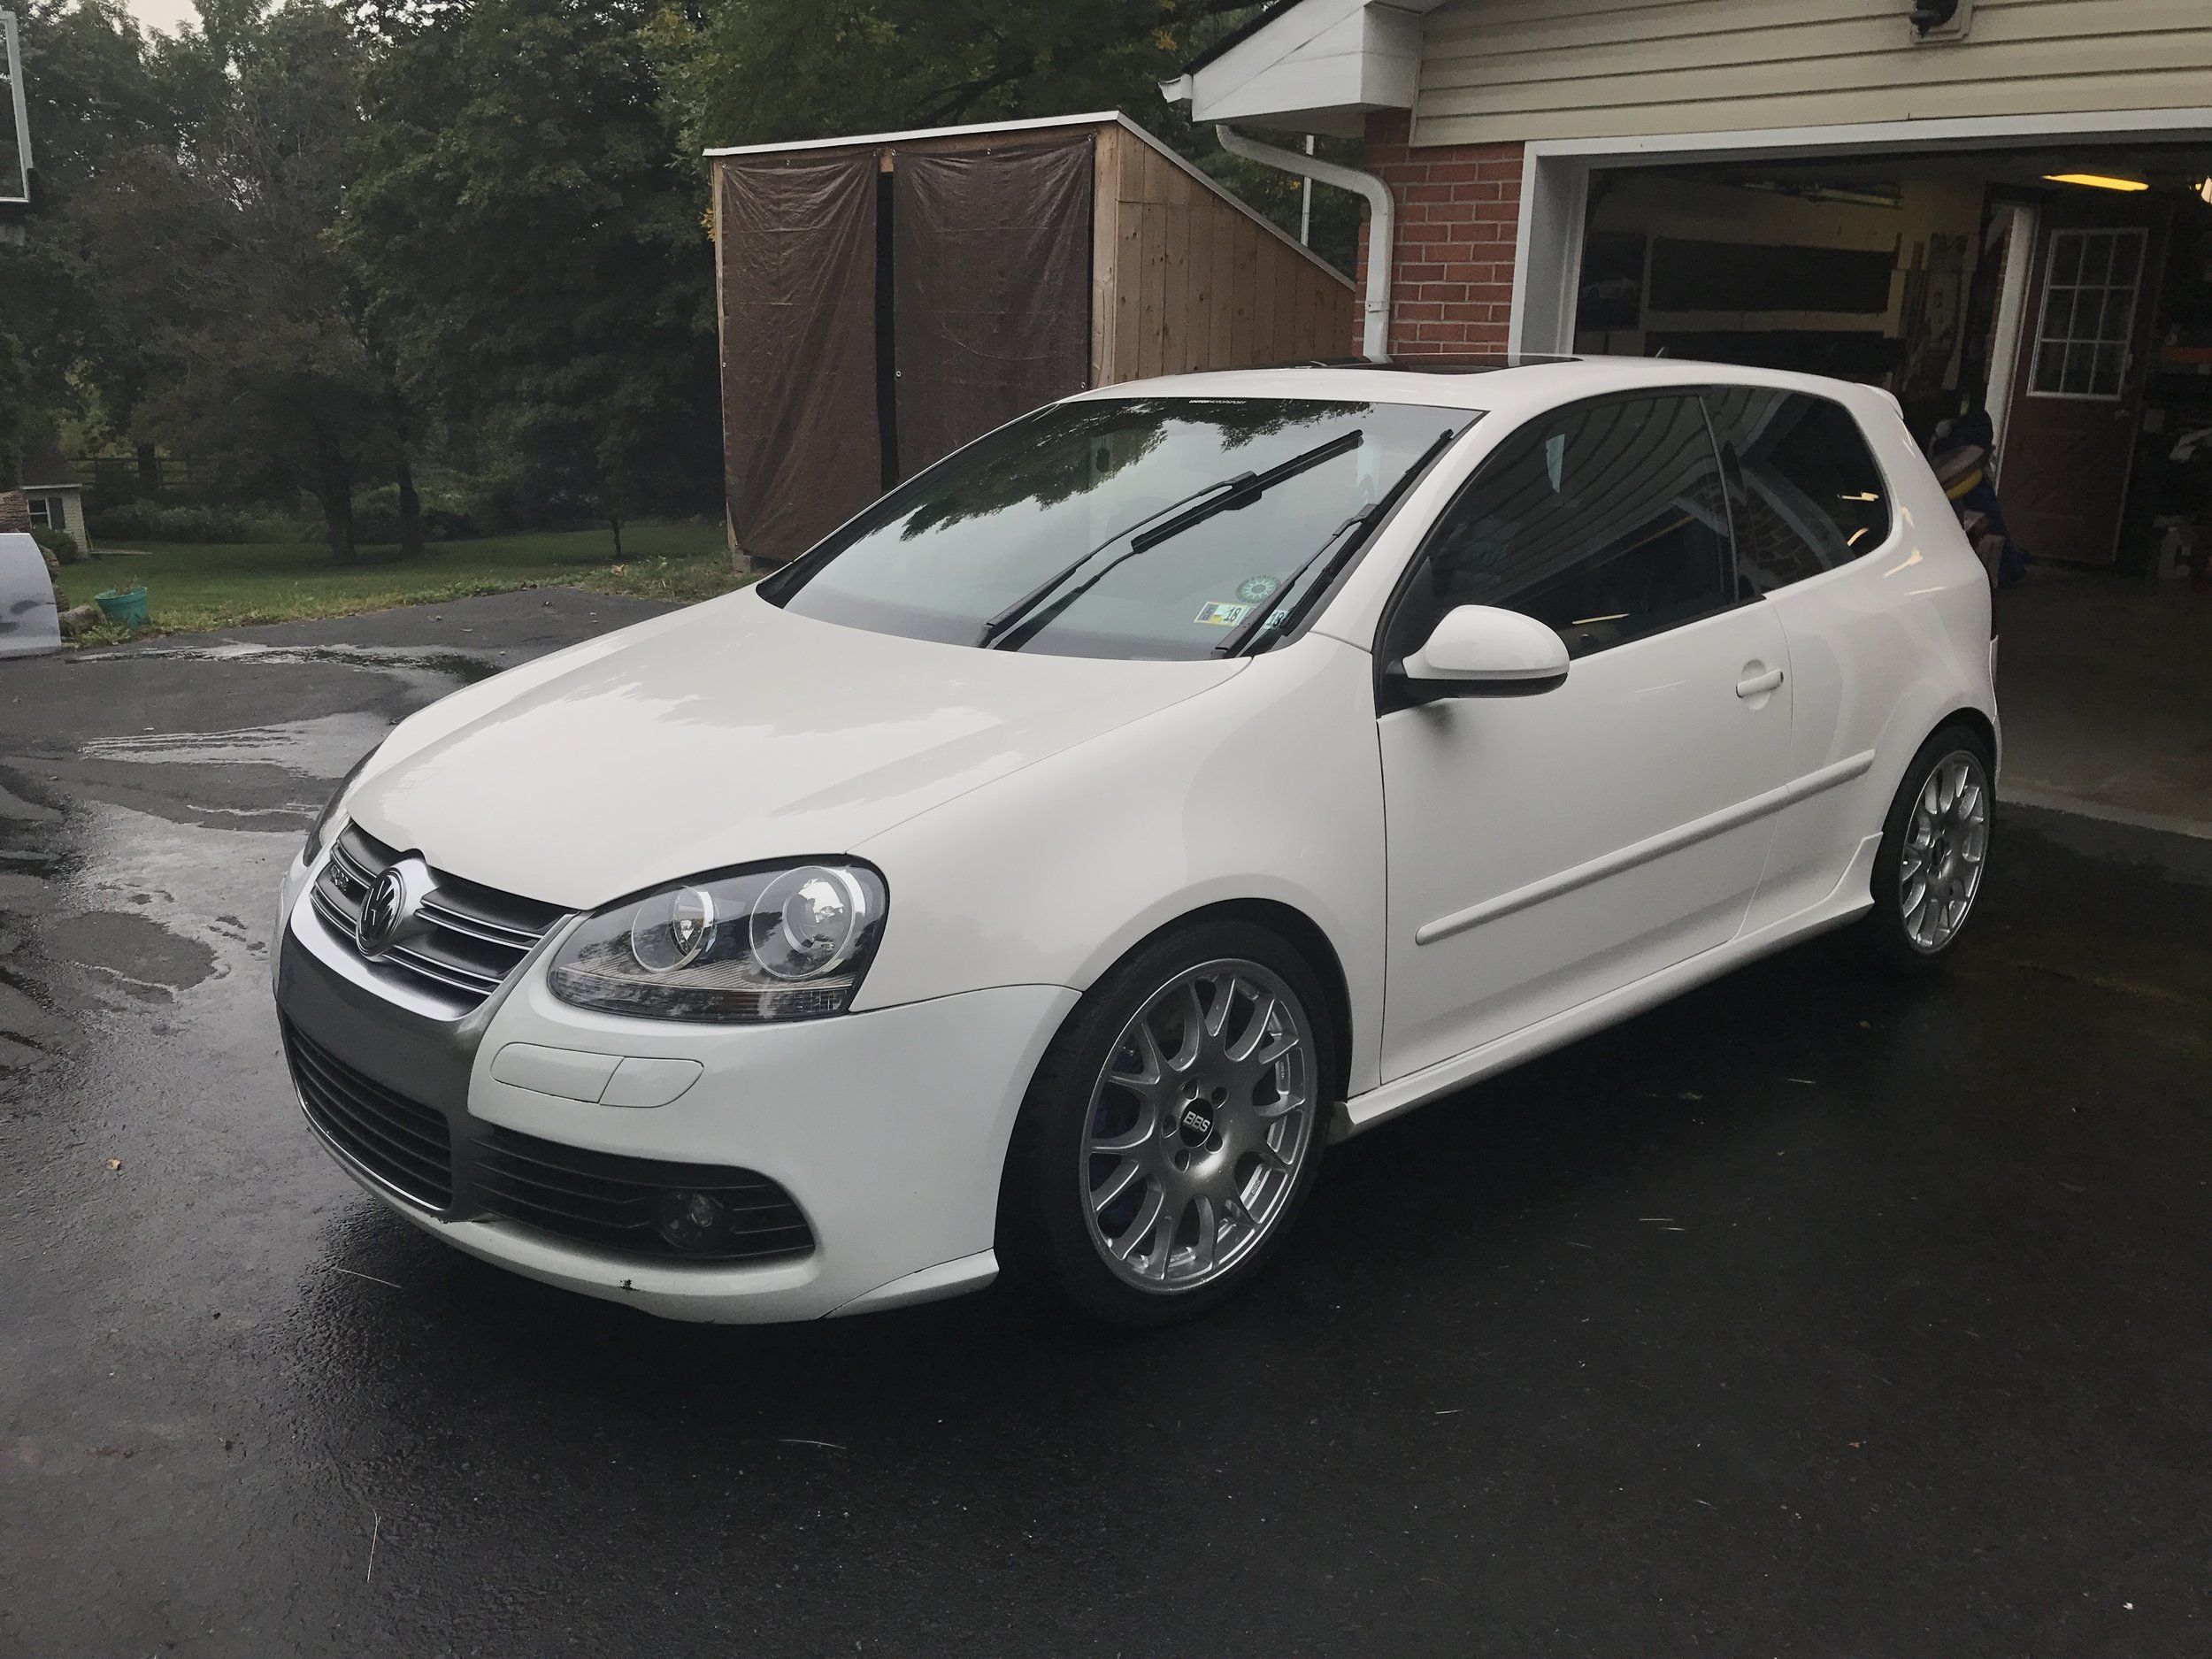
One morning in July of 2011, I had pulled into the parking lot for work and saw that a delivery of cars had been dropped off during the night from an auction. This was typical and being one of the first to open up the building, I knew I would have a large envelope of keys to open, write up repair orders for, and get the keys ready to be labeled. As I walked through them, I noticed a Candy White R32, which stood out in the sea of Jettas and Rabbits that is the life of the service department. I went in and grabbed the key and came back out to see the inside, just to find an unmolested and clean interior and 32,000 miles on the odometer. Knowing I still had work to do, I went about my morning but already had it in my head that I wanted this car, so much so that I had already sent photos to my wife saying that we should trade her GTI in for it and that I wanted her to stop in after work to see it. When the sales manager walked in, he mentioned it and I flat out told him that we wanted it. Fast forward several days and the car went through the shop to make sure it was ready to be sold and we also had a chance to drive it. I had sold the idea to my wife so now all we had to do was sign on the dotted line, which we did on the 27th of July, 2011. It was an odd sell to her, since this was a two door and I had convinced her to get a four door GTI in order to get out of her two door Accord, but come on…it is an all-wheel-drive car and we live where it snows!
Since I had already been bitten by the modification bug with my GLI, I wasted no time on the R32 but did my best to keep it tasteful since my wife still had to drive it to work every day. Like any car guy, I could sit here and write an entire dissertation on everything ever done to the car and why. This isn’t my intention, rather I would love to highlight particular sections of the car and give you my impressions of them since I have now had a decade with them. I will cover the interior, exterior, engine and transmission, and overall maintenance of the vehicle while listing pros and cons of each along the way. As a warning, I am not writing this with the illusion of the R32 being the perfect dream car. I have no problem criticizing something when criticism is due but I feel that after ten years and 140,000 miles, I feel that I have a pretty good idea on the ins and outs of the car.
Interior
When you open the door, you are greeted with leather seats, R logo pedals, and a not overly cluttered center console, which has been pretty typical of Volkswagen over the years. There were many “firsts” on the Mk5 over the Mk4: iPod integration in the center console, automatic headlights, rain sensing wipers, multi-function steering wheel, and one of the only options that you could select when you ordered the car, navigation. It had dual climate control, similar to the Mk4, blue instrument cluster needles, and auto dimming rear view mirror. One detail that VW felt was a good idea, and I do not, is the fake spun aluminum dash and door trim and coin holder. I never liked the look of it from day one and I quickly found someone that was willing to trade GTI brushed aluminum trim for the R32 trim. Many complain that the R32 seats weren’t anything special, since they were identical to the GTI seats, just with a different logo on the headrest, but I will say that they are fantastic seats. They aren’t as aggressive as the Mk4 R32 seats, allowing for easier entry and exit to the car but aggressive enough to hold you in place during a track day or a twisty back road. One feature my wife loves to highlight is how hot the heated seats get. In the Winter, the heat control is often found in the fifth setting, which I realize once I start to sweat from the bottom-up.
The navigation unit, known as the MFD2, was ok for 2008, but was outdated soon after the car came out, in my opinion. Volkswagen started releasing touch screen radios and navigation units in 2010 and swapping to these units was very common. I opted for the RNS-510 and the supporting hardware needed to make it work flawlessly with the steering wheel buttons and cluster display, as well as OEM bluetooth calling and music streaming. I personally do not mind the audio quality that comes from the stock speakers and they have held up very well. It is no competition system but it does the job. One improvement can be done by replacing the amplifier with a Dynaudio amplifier from an Eos, Passat, or CC.
There are other little things that can be done inside the vehicle but they all come down to personal preference. As it always plays out, Americans want parts that Europeans have and Europeans want what Americans have and some of the bits, like the dash cubby, dash tray, and cupholder, are commonly swapped out.
Pros: Quality fit and finish that has held up very well, overall. No broken parts due to wear and tear. Fits two adults and two children just fine, including a stroller when they were babies.
Cons: Headliner finally started to sag in 2019. Original DSG shifter base trim was coated with “soft touch” finish that VW used in 2006 and was known to just peel off. No official R logo dead pedal, though the R36 dead pedal works.
Exterior
I have heard from many people over the years that the exterior shape and design of the Mk5 Golf was a major turn off for them. It is too round or too egg shape. I think it is the closest in design to the Mk4 then any of the other generations of R, which I guess makes sense since it was only 4 years removed from the Mk4. Aesthetics aside, the Mk5 (in the US at least) got a few things that the Mk4 did not: HID headlamps, headlamp washers, and an R32 specific front grille were all standard. One detail that has always been a favorite for me is the blue tinted glass. This is hidden most of the time by people that have window tint installed, like the first owner of our R32. I was thrilled when the day came when I decided to remove the tint; the rear window was starting to de-laminate and rather than pay to have it reinstalled, I wanted to just rock the blue tinted glass.
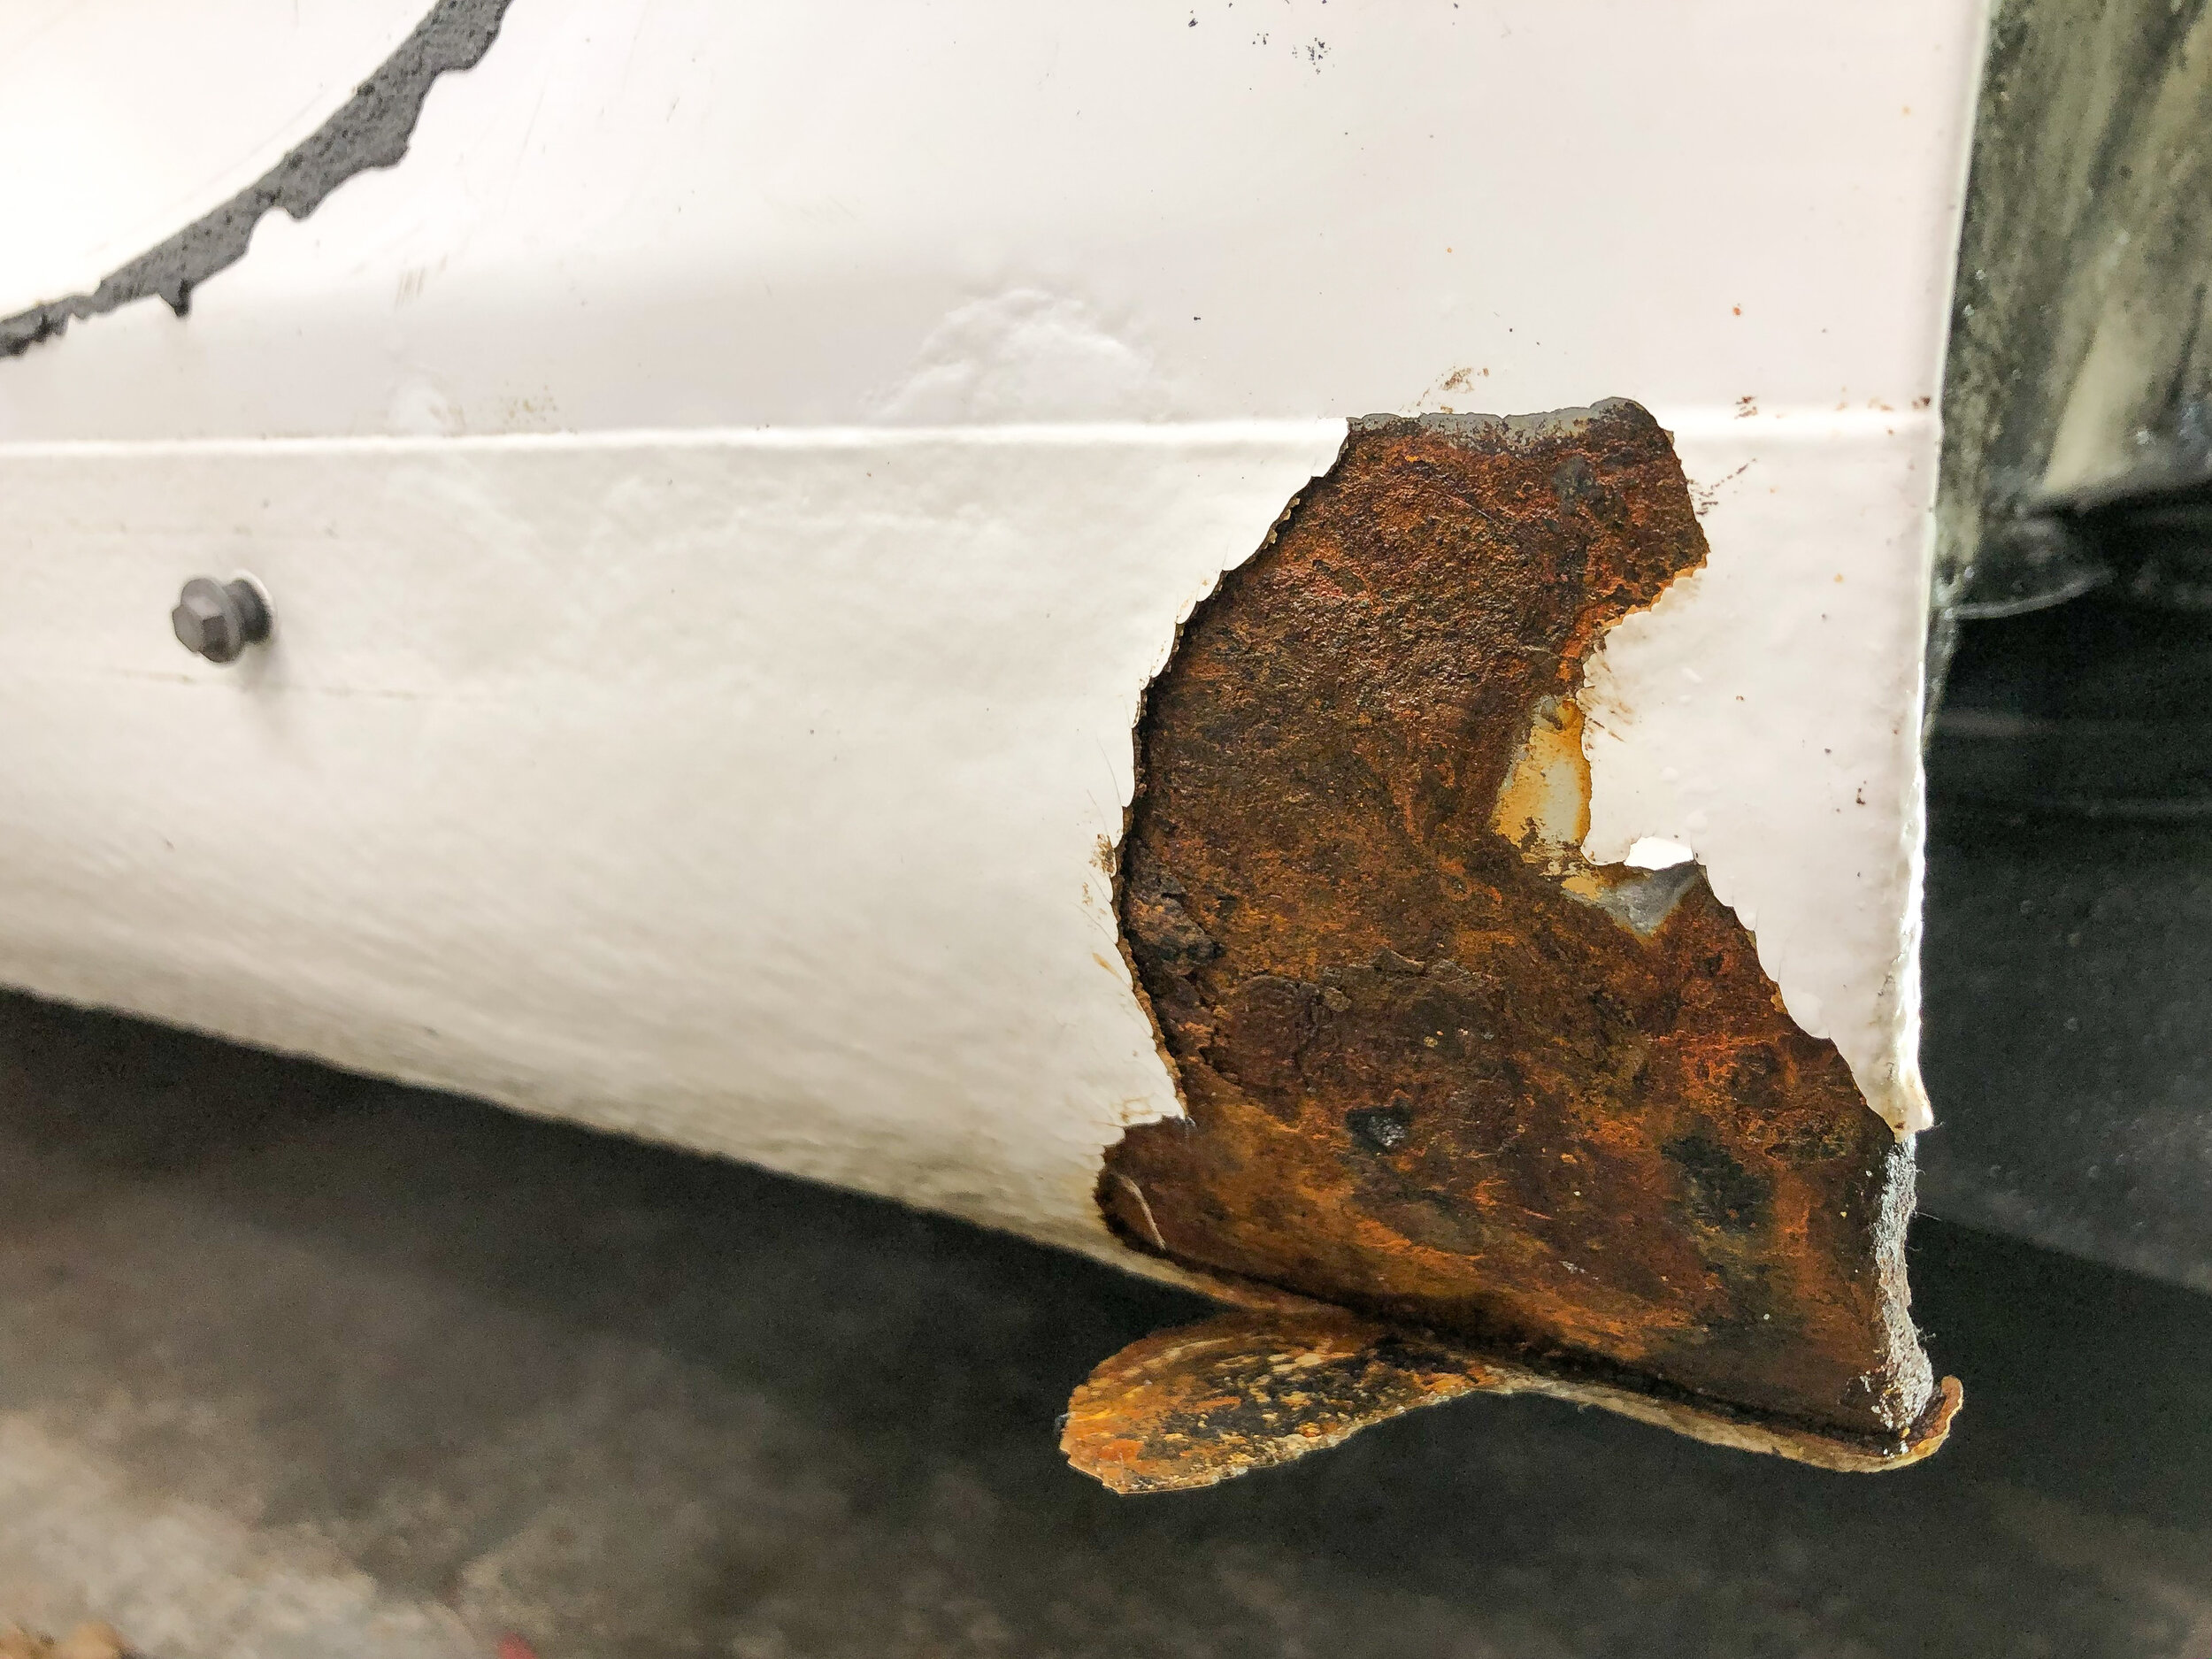
Now, the Mk4 was known to have leaf and grime build up in the front fenders, which caused rusting, and sadly, the Mk5 had a similar issue. Thankfully, VW caught on early enough and released a TSB for this issue but for many it was too late. The front rockers are known, on all Golfs, to bubble up and rot and as I discovered much later, the rear rockers do this as well underneath the side valances. I have said it many times that if you show me a Mk5 Golf that has been driven in the colder regions of North America, I will show you where the rust is. We were shocked to learn how bad the rear rust was when it was taken care of in 2020. Once the valances were off the car, it was learned that the cancer would have to be cut out and this cut went into the wheel well. I am fortunate enough to have taken the car to Crolls Customs in Slatington, Pennsylvania, because Josh really did a fantastic job on the rust repair.
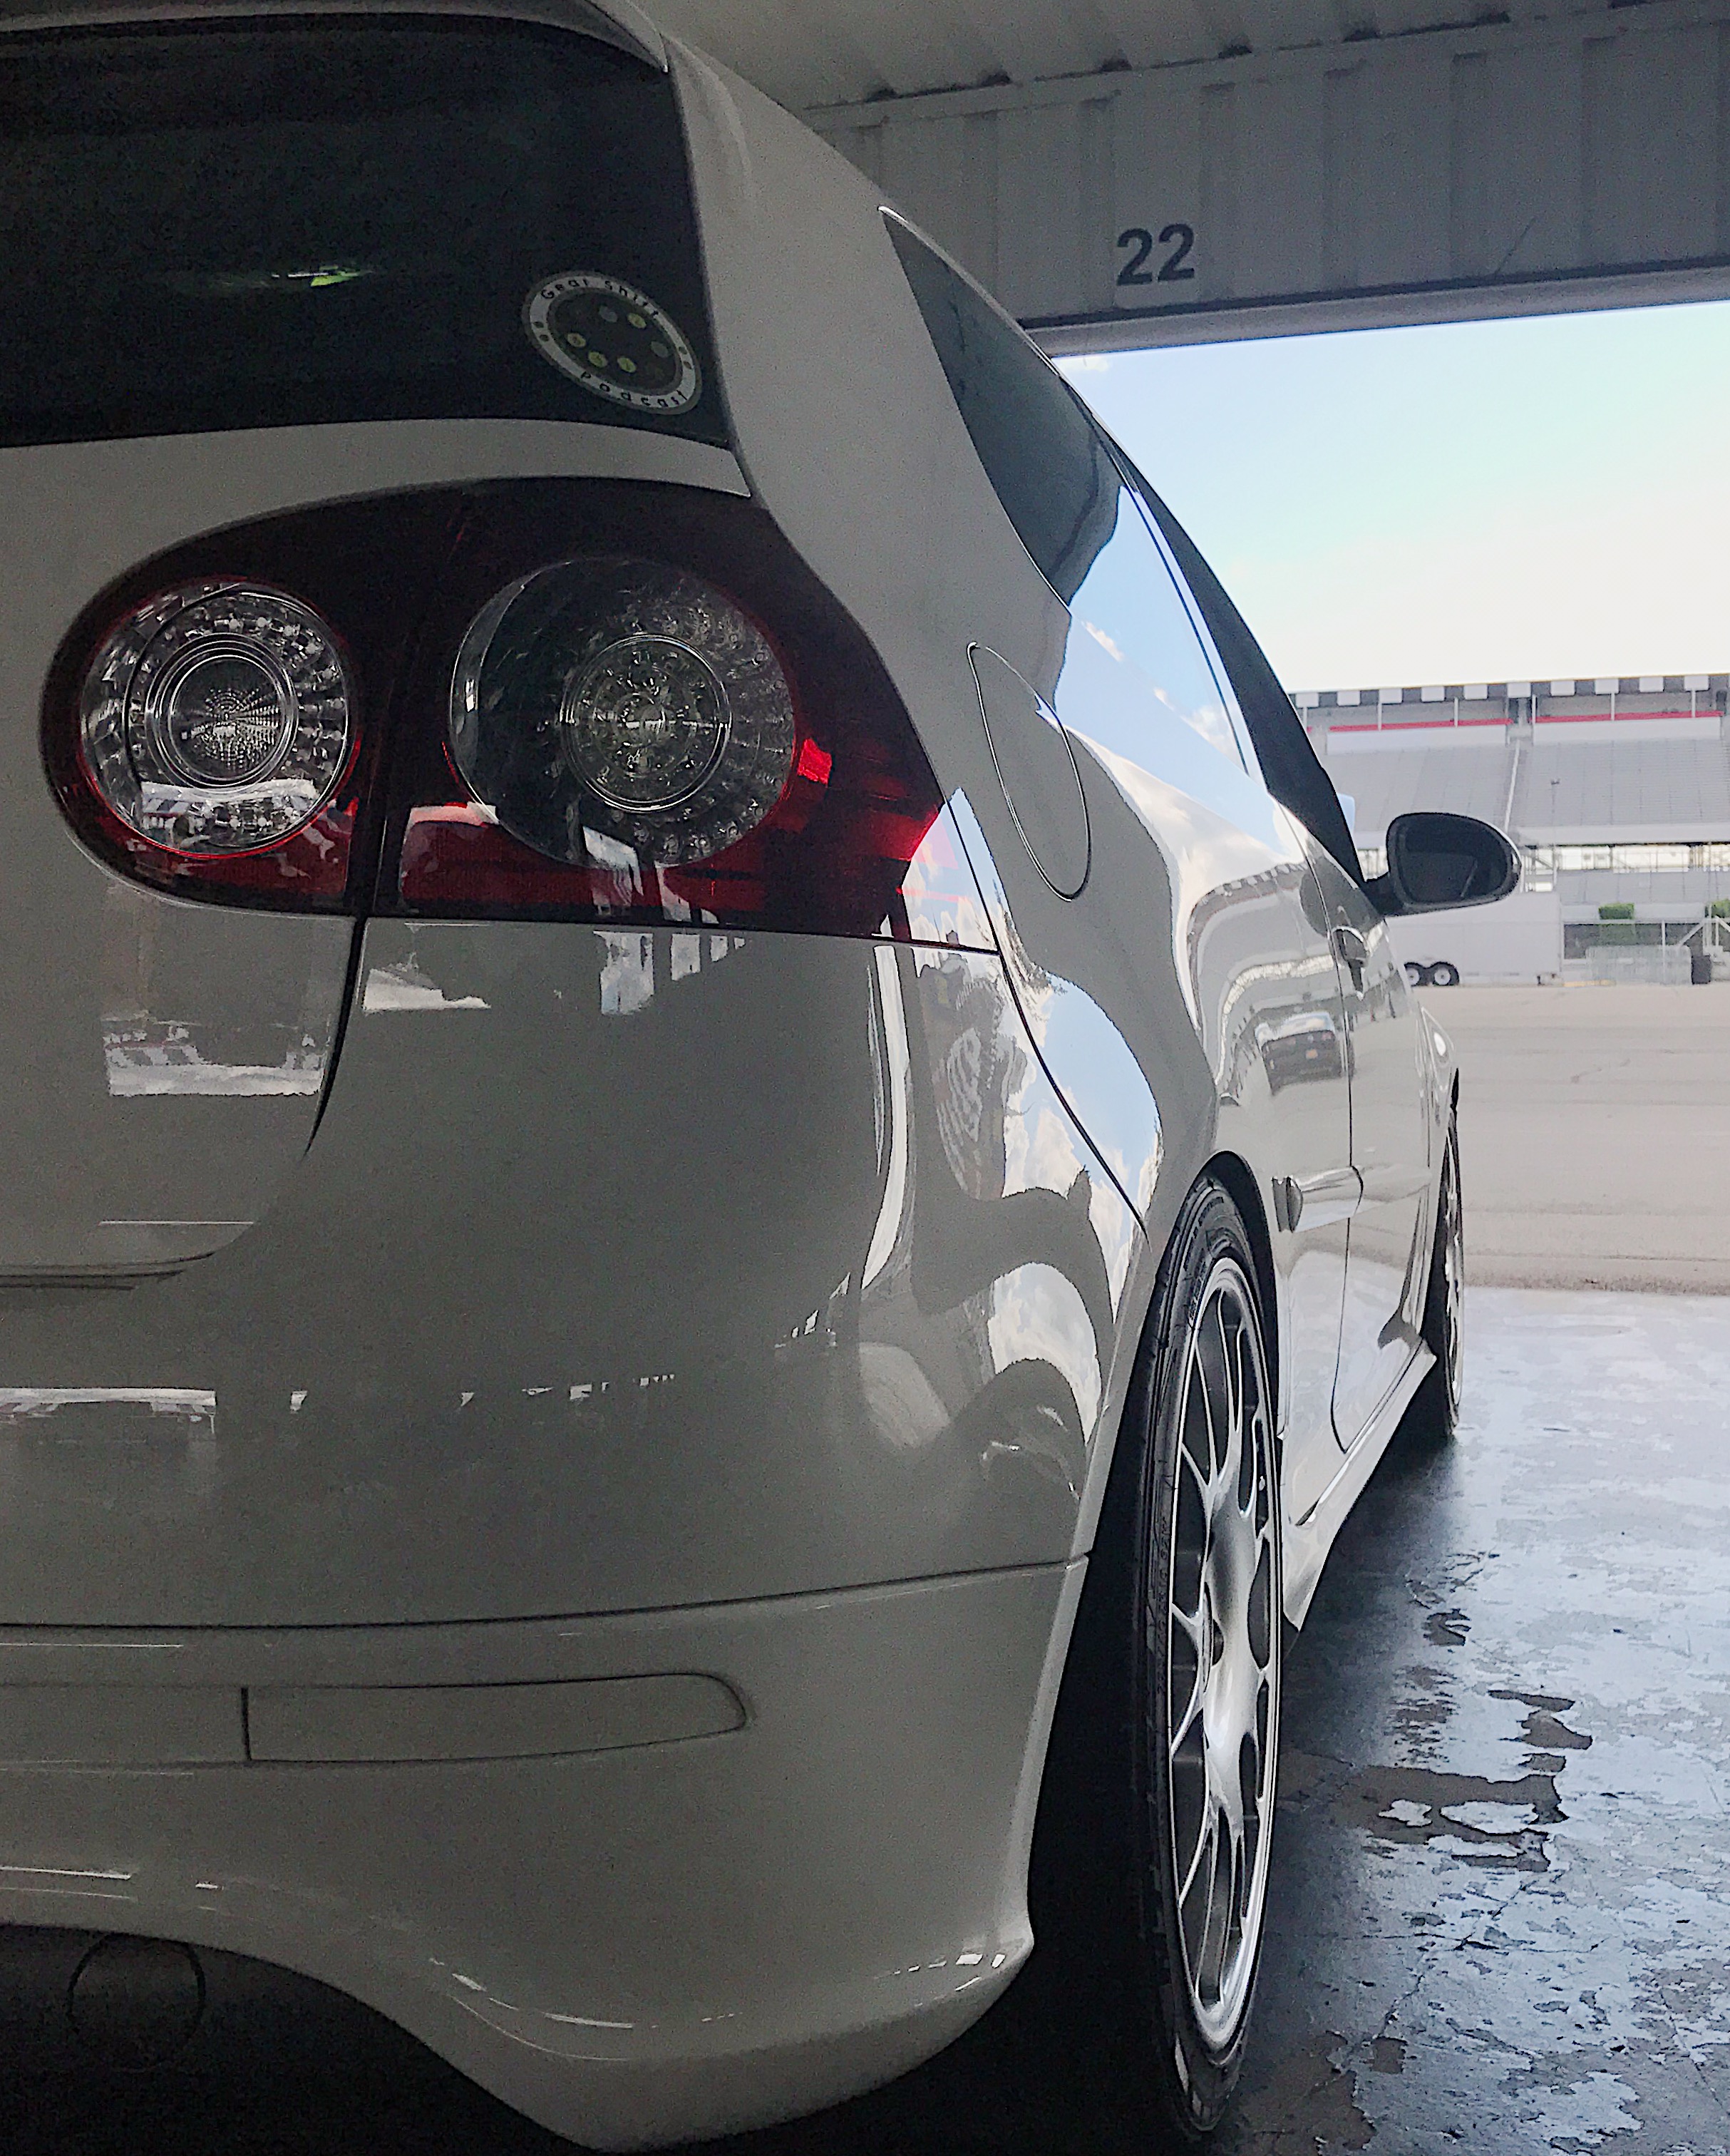
There isn’t too much to go over on the exterior to be honest. The center exhaust was new compared to the Mk4 and I personally prefer it on this shape of car. Looking ahead, the Mk6 R also looks good with the center exhaust and I have seen some Mk7 GTIs retrofitted with a center exhaust that looks really good. I personally feel the Mk4 is the only R that looks right with the dual exhaust on the outer edges of the bumper. There also isn’t much that can be done in regards to styling on the outside. Sure, wheels and suspension are probably the biggest but I feel the European LED tail lamps class up the rear end a lot.
Pros: Much more aggressive look overall compared to the regular Golf. Modern look: oddly enough I have to remind my wife that the car is thirteen years old because it doesn’t look like it has aged when looking at newer cars on the market today.
Cons: The rocker rust…honestly, it is an expensive job now that the VW Corrosion Warranty has expired on the car. The main grille retails for $950 so heaven forbid you break it and have to pay out of pocket for it. The wheel wells are shallow, really limiting what size wheels and tires can be safely run on the car without rubbing or ruining the fenders.
Engine and Transmission
With the addition of ten horsepower and the ability to shift faster than any human, you would think there would be little to be upset over. Well, I have yet to meet anyone that has an issue with motor so I won’t spend much time on that, other than to say if you are buying this car because you think it is fast, you are buying the wrong car: it isn’t. If you view quarter mile times as a metric for speed (which many do), here are five (reasonable) vehicles that are faster than the Mk5 R32:
- 2006 Mazda Mazdaspeed6, 14.0 sec @ 99 mph
- 2004 Subaru Forester, 13.8 sec @ 97 mph
- 2006 Mazda RX-8, 13.5 sec @ 109 mph
- 1993 Nissan 300ZX, 13.4 sec @ 110 mph
- 2000 Toyota Celica, 13.3 sec @ 108 mph
For reference, Car and Driver tested the Mk4 R32 at 14.3 sec @ 97 mph and the Mk5 at 14.2 sec @ 98 mph. This doesn’t even mention vehicles from the last five years, which have become more efficient, lighter, and faster. Whenever I go to a track day, I almost always have someone come up to me and make mention of its speed, to which I reply with the following: “It isn’t that fast. It’s like a fat, AWD Miata that is quick in the turns but slow in a straight line.” It is a bit of an exaggeration since I always seem to pass a Miata or two at these events but I am not off by much. The sound of the 15º, 24 valve, 3.2 liter VR6 definitely makes the car sound like it is going much faster than it really is, which, to be honest, is all you really need. This is good news because there aren’t many options to help you squeeze out some more ponies. Yes you can tune it and throw on an intake, but that is about it without major work. Schrick camshafts are the biggest bump in power that you will get and they do really wake the car up over 4,000 rpm, but most people don’t want to spend more than $1,000 for a 45 hp bump. You really have to nickel and dime the car with supporting this and that to get as much as you can out of the 3,600 lb car. Weight reduction becomes a big factor, which can be accomplished with lighter rotors and wheels but any further and you start to remove the daily driver features, like seats and air conditioning.
Let’s roll up our sleeves now and get down to the main item which makes this car absolute trash for those that haven’t spent time with it, the transmission. The Mk4 R32 had a Direct Shift Gearbox (DSG) option in Europe and this was the first consumer vehicle to be offered with it by VW. In the States, the Mk5 GTI was the first and it was the only option for the R32. This made a lot of people upset because I think it is safe to say that the manual transmission has long been viewed as the enthusiast transmission. Sure you had a lot of automatic muscle cars in the 60s and 70s but the DSG is not that same torque converter type of automatic. I know this is the standard rebuttal for DSG owners but it is worth saying again: it is an automated manual transmission. There is no torque converter, it has two input shafts, two clutch packs, and two output shafts. The mechatronic unit is the main brain of the transmission, similar to the valve body of an automatic, and it was the one weak point of the transmission in the beginning. It was one of two recalls that the R32 had (the other being the sunroof drain tubes) and it caused the DSG to feel very clunky at low speeds. I was working at Volkswagen when these recalls were being performed and hearing what owners were experiencing was definitely interesting. Jerky and clunky were the two words used to describe the issues and the recall did take care of those problems. The recall was done on our R32 by the time we got it but it was replaced one more time about a year later since it was starting to act up again. That mechatronic unit has lasted us nine years with no issues and has been tuned that entire time. With a tune being mentioned, I will say that the DSG tune is worth every penny and really transforms the performance of the car. The shifts get quicker and if you choose United Motorsport, you have the option of adding their Spark Cut feature, which not only cleans up the shifts but gives you a nice little “back fire” depending on your exhaust setup.
The last thing I will say about the transmission is that it really is an all-around great piece of engineering that is a one-size-fits-all tool. If you want to be lazy, you can leave it in Drive. If you want to put it in Sport, then you still get to be lazy but with higher shift points and proactive rev-matching downshifts. If you want to feel in control, you always have Manual, which allows you to row the gears from the shift lever or from the paddle shifters on the steering wheel. This is where I spend most of my time and on the track, it is one less thing that I have to focus on, which helps me lower my lap times.
Pros: Intoxicating exhaust sound. Instant torque. Relatively bulletproof engine. Fast shifts. Great exhaust sound.
Cons: Only way to get a lot of power is to spend a lot of money on a turbo kit (more than the car is worth). So many repairs require the radiator support to be put in service mode and the intake manifold to be removed. The DSG service can cost you about $400 at a shop every 40,000 miles. Weight…the DSG add about 150 lbs to the front end. No third pedal (some would argue this is a con).
Maintenance
Before I owned a Volkswagen, I always heard people lament that German cars are so maintenance heavy and expensive to maintain. I truly believe this can be true but it depends on what German vehicle you have. This may be true of a late 90s BMW or Mercedes but if you look at a similar year VW, that is not true. The Mk5 R32 has been a relatively simple car to maintain over the last ten years. The VR6 is a fairly low maintenance engine and very reliable so long as you keep up with it. I have consistently done synthetic oil and filter changes every 5,000 miles with Liqui Moly and now that it is up there in years and miles (172,000 as of writing this), I change the DSG oil and filter every other year, which is about 24,000 to 30,000 miles. Since I do about two track days a year and one long and spirited trip to Wookies in the Woods (on the famous Tail of the Dragon, US129), I flush the brake fluid once a year and the coolant, rear differential, and Haldex fluids get changed every other year. It may be overkill at this point but with some parts becoming harder to find new and used, I would rather just over maintain it at this point. If I was just daily driving it and it was fairly stock, I would happily just stick to the recommended service intervals.
The timing chains and guides are the biggest maintenance items that have been ignored by many over the years. Many thought that since this car did not have a timing belt that there was no reason to worry about the chain. Over time though, the chains really wear through the guides and they can get to the point where the engine sounds like someone is shaking a coffee can filled with marbles. If every VR6 gave this warning sign, that would be awesome. The fact is that if you are over 80,000 miles and you haven’t changed the chains and guides, then you are on borrowed time. A good friend, Shawn Jones, had his factory chains and guides fail on him at Wookies in the Woods 2019 during the Soundoff. They had over 150,000 miles on them and no rattle noises at all, proof that it can happen at any time. It isn’t a cheap job but it is way cheaper than replacing your pistons or even the entire engine. If you are doing this job, you might as well take the time to collect other parts to replace/upgrade while everything is apart. Parts like Schrick cams, metal coolant pipe (known as the crack pipe), rear main seal, and PCV diaphragm made by RKX for inside the valve cover. Otherwise, the R32 is a pretty carefree vehicle. Change your fluids, rotate your tires, get yearly alignments, and enjoy your drive.
Pros: Minimal parts failures that are more common on the Mk5 GTI, like PCV and boost recirculation valves, and intake manifold runner flap motors. Basic maintenance is fairly DIY friendly so long as you know the specs.
Cons: Since the VR6 is pretty much jammed into the engine bay, accessibility of some parts is pretty limited, requiring mass disassembly sometimes just to get to one thing. Changing the headlight bulb requires removing the front bumper and headlamp assembly. DSG service requires VCDS or other form of diagnostic computer to monitor fluid temperature, as well as the proper tool to gravity feed the fluid into the transmission.
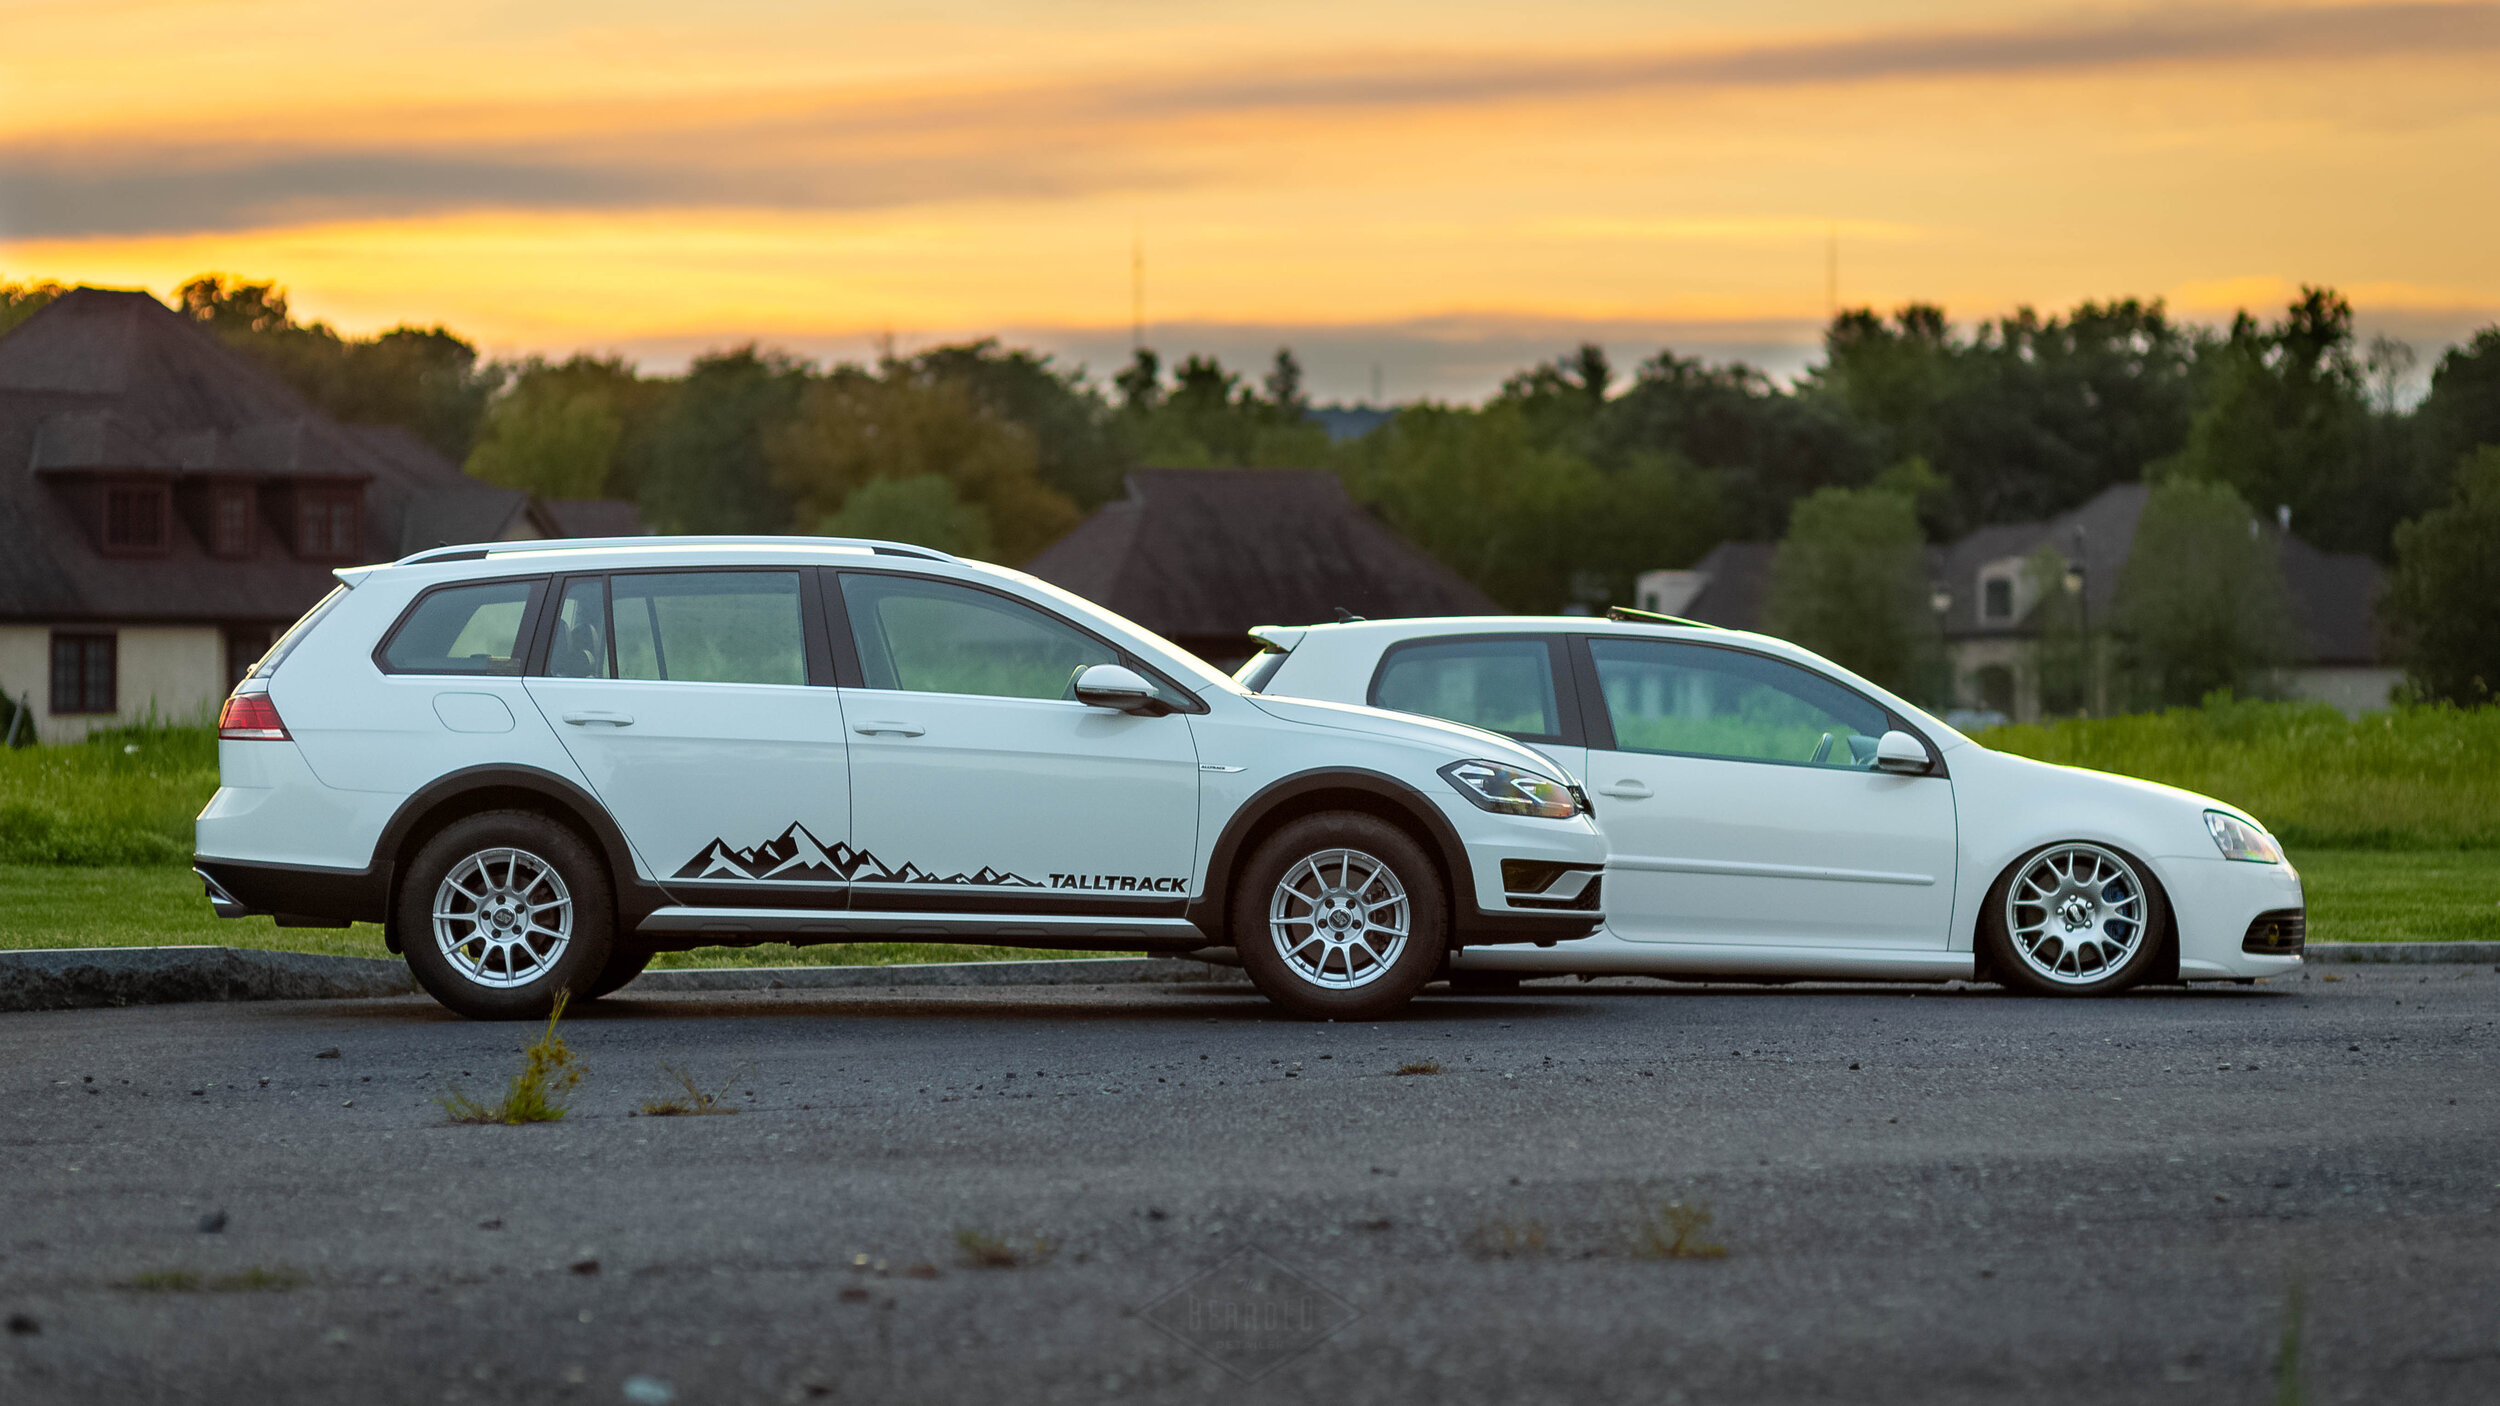
By now, you should have a pretty good grasp on how I feel about this car. It is a car that provides a lot of smiles so long as you are willing to put in the work. Are there times where I wondered what it would be like with a manual transmission? Yes, though admittedly very few. I have said to many people that out of all the vehicles I have owned (two trucks, one motorcycle, and nine cars), there have been two that I have zero regrets about. My 2018 Golf Alltrack S (manual transmission) has checked all the boxes for what we need as a daily family car. It is an inexpensive AWD wagon that I can tow our fishing boat or utility trailer with. It fits our family of four, plus the dog and luggage, comfortably and with some upgrades (larger GTI turbo, clutch, tunes, and sway bar) is a blast to drive.
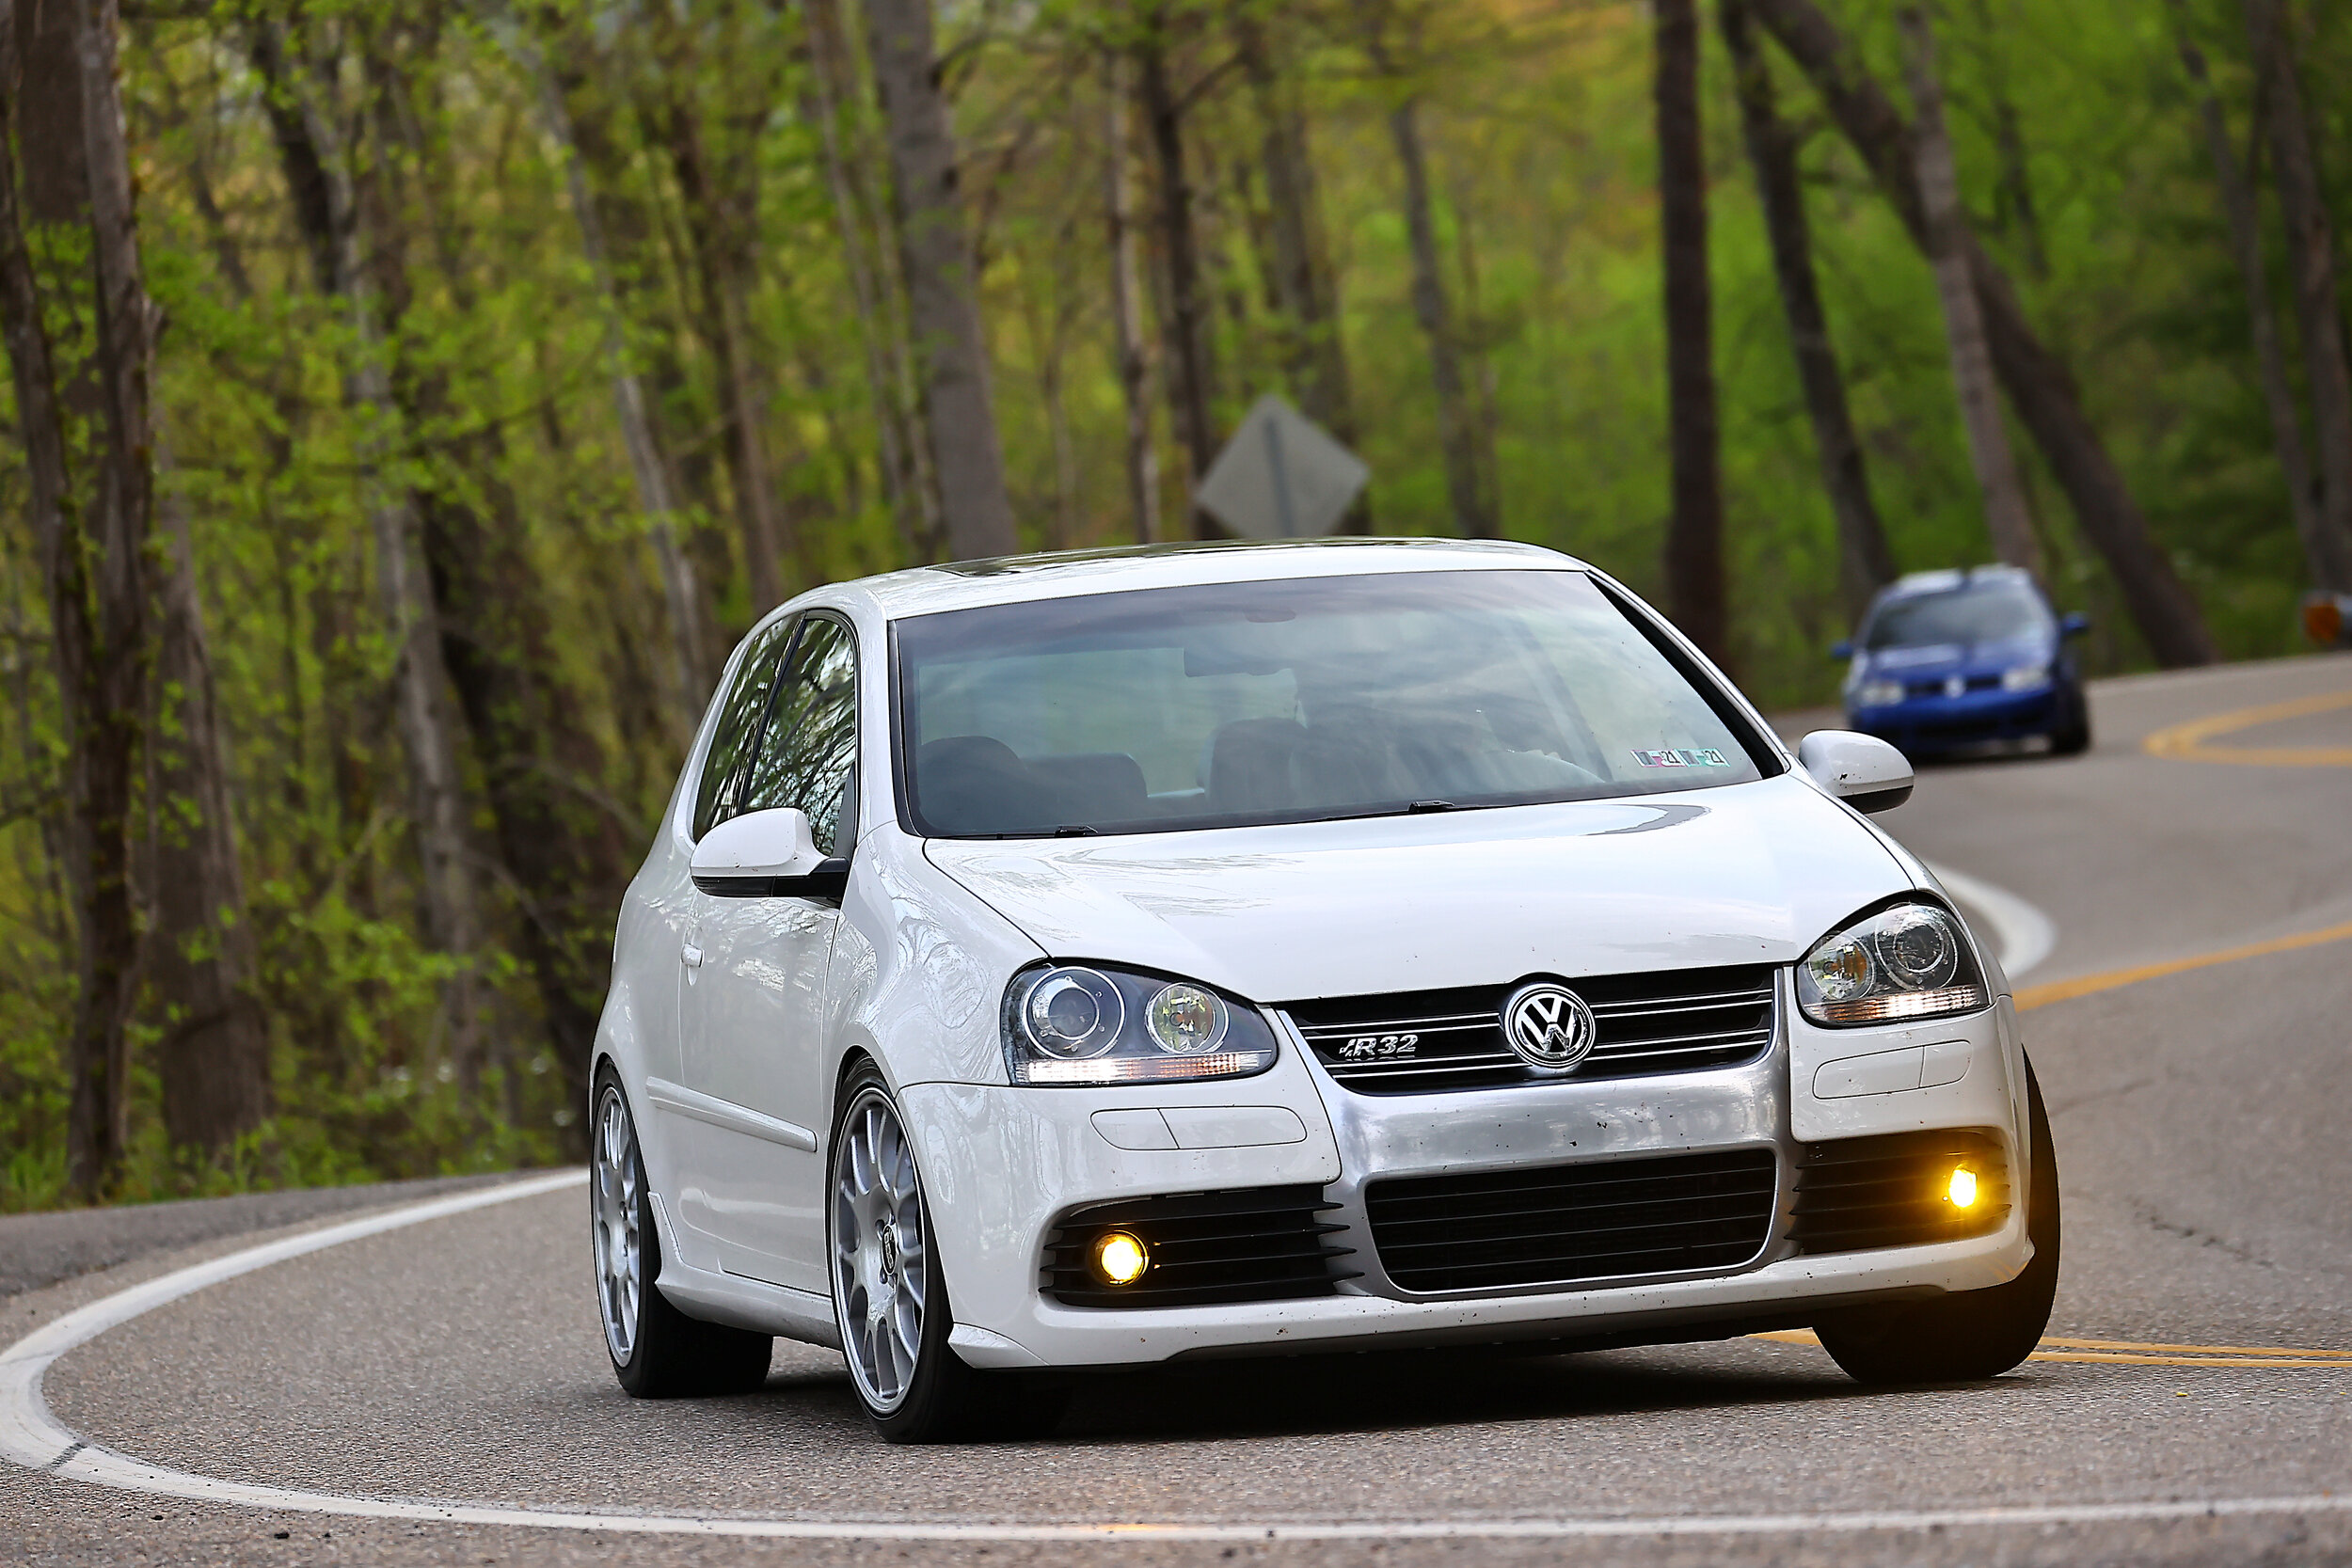
The other car is obviously the R32. As I mentioned, we have put about 140,000 miles on this car by driving it to work every day, going to track events, and a 1,500+ mile trip to Fontana Dam, North Carolina for Wookies in the Woods every year since 2012 (with the exception of 2014) to enjoy the company of other R32 and Golf R owners. This is a car that my two daughters love to go for a ride in, even after ten years. This is a car that still puts a smile on the face of my wife and myself when we drive it. When the car had the passenger window smashed and it was stolen back in 2013, my wife cried when she got in it to see what the vandals had done to it. She has asked me many times what will happen when this car can’t be driven anymore and I always tell her that so long as I am able to physically work on the car, or have the money to pay someone to do it, I will never let that day come. I feel like I should mention that this is her car, not mine. Yes, I maintain it and she lets me have fun in it as a form of payment, but it is her car and it has set a pretty high standard for her for what she wants in a car. I don’t blame her: she can load the kids up with some essentials in the hatch and go for an hour and a half drive to her mother’s house and enjoy some twisty back roads along the way with no issues.
Why the values of the Mk5 platform has plummeted is beyond me but I do know that the Mk5 R32 has gone from being a $35,000 car to a $9,000 car in only ten years. They have managed to plateau recently but you would think that the last Golf to house the very popular VR6 would be worth a little more than it is. Is the lack of a third pedal enough to bring seventeen years of six cylinder Golfs to a halt? Maybe but we do know that stricter EPA regulations played a big part in its death. What I do know is that in my opinion, the 2008 VW R32 is the best grand tourer that Volkswagen has ever made. While you may read that and think that may be a stretch since the term grand tourer has been reserved for Porsches, BMWs, and Aston Martins, I doubt that many would be comfortable driving these cars every single day for ten years in rain or snow. Will there be people that disagree with me on this car? Oh absolutely and to those people I would ask if they are able to write a similar essay on a vehicle that they feel is similar to them, if they can. Until they do that, I will continue to take the motto of Wookies in the Woods and apply it, very seriously: Drive More.
For those that may be curious as to what is all done to the car, this is for you.
Engine | Transmission | Drivetrain
United Motorsports ECM/DSG (with Spark Cut) Tunes
United Motorsports Haldex tune
Schrick 268/264 camshafts
DLI Teknik engine mount
DLI Teknik transmission mount
Fluidampr crank pulley
VWR dogbone mount
Integrated Engineering SAI block off kit
OEM noise amplification pipe delete
OEM .:R36 black ignition covers and loom
OEM Tiguan coolant cap
OEM Audi DSG cooler
42 Draft Designs black water pipe
K&N panel filter
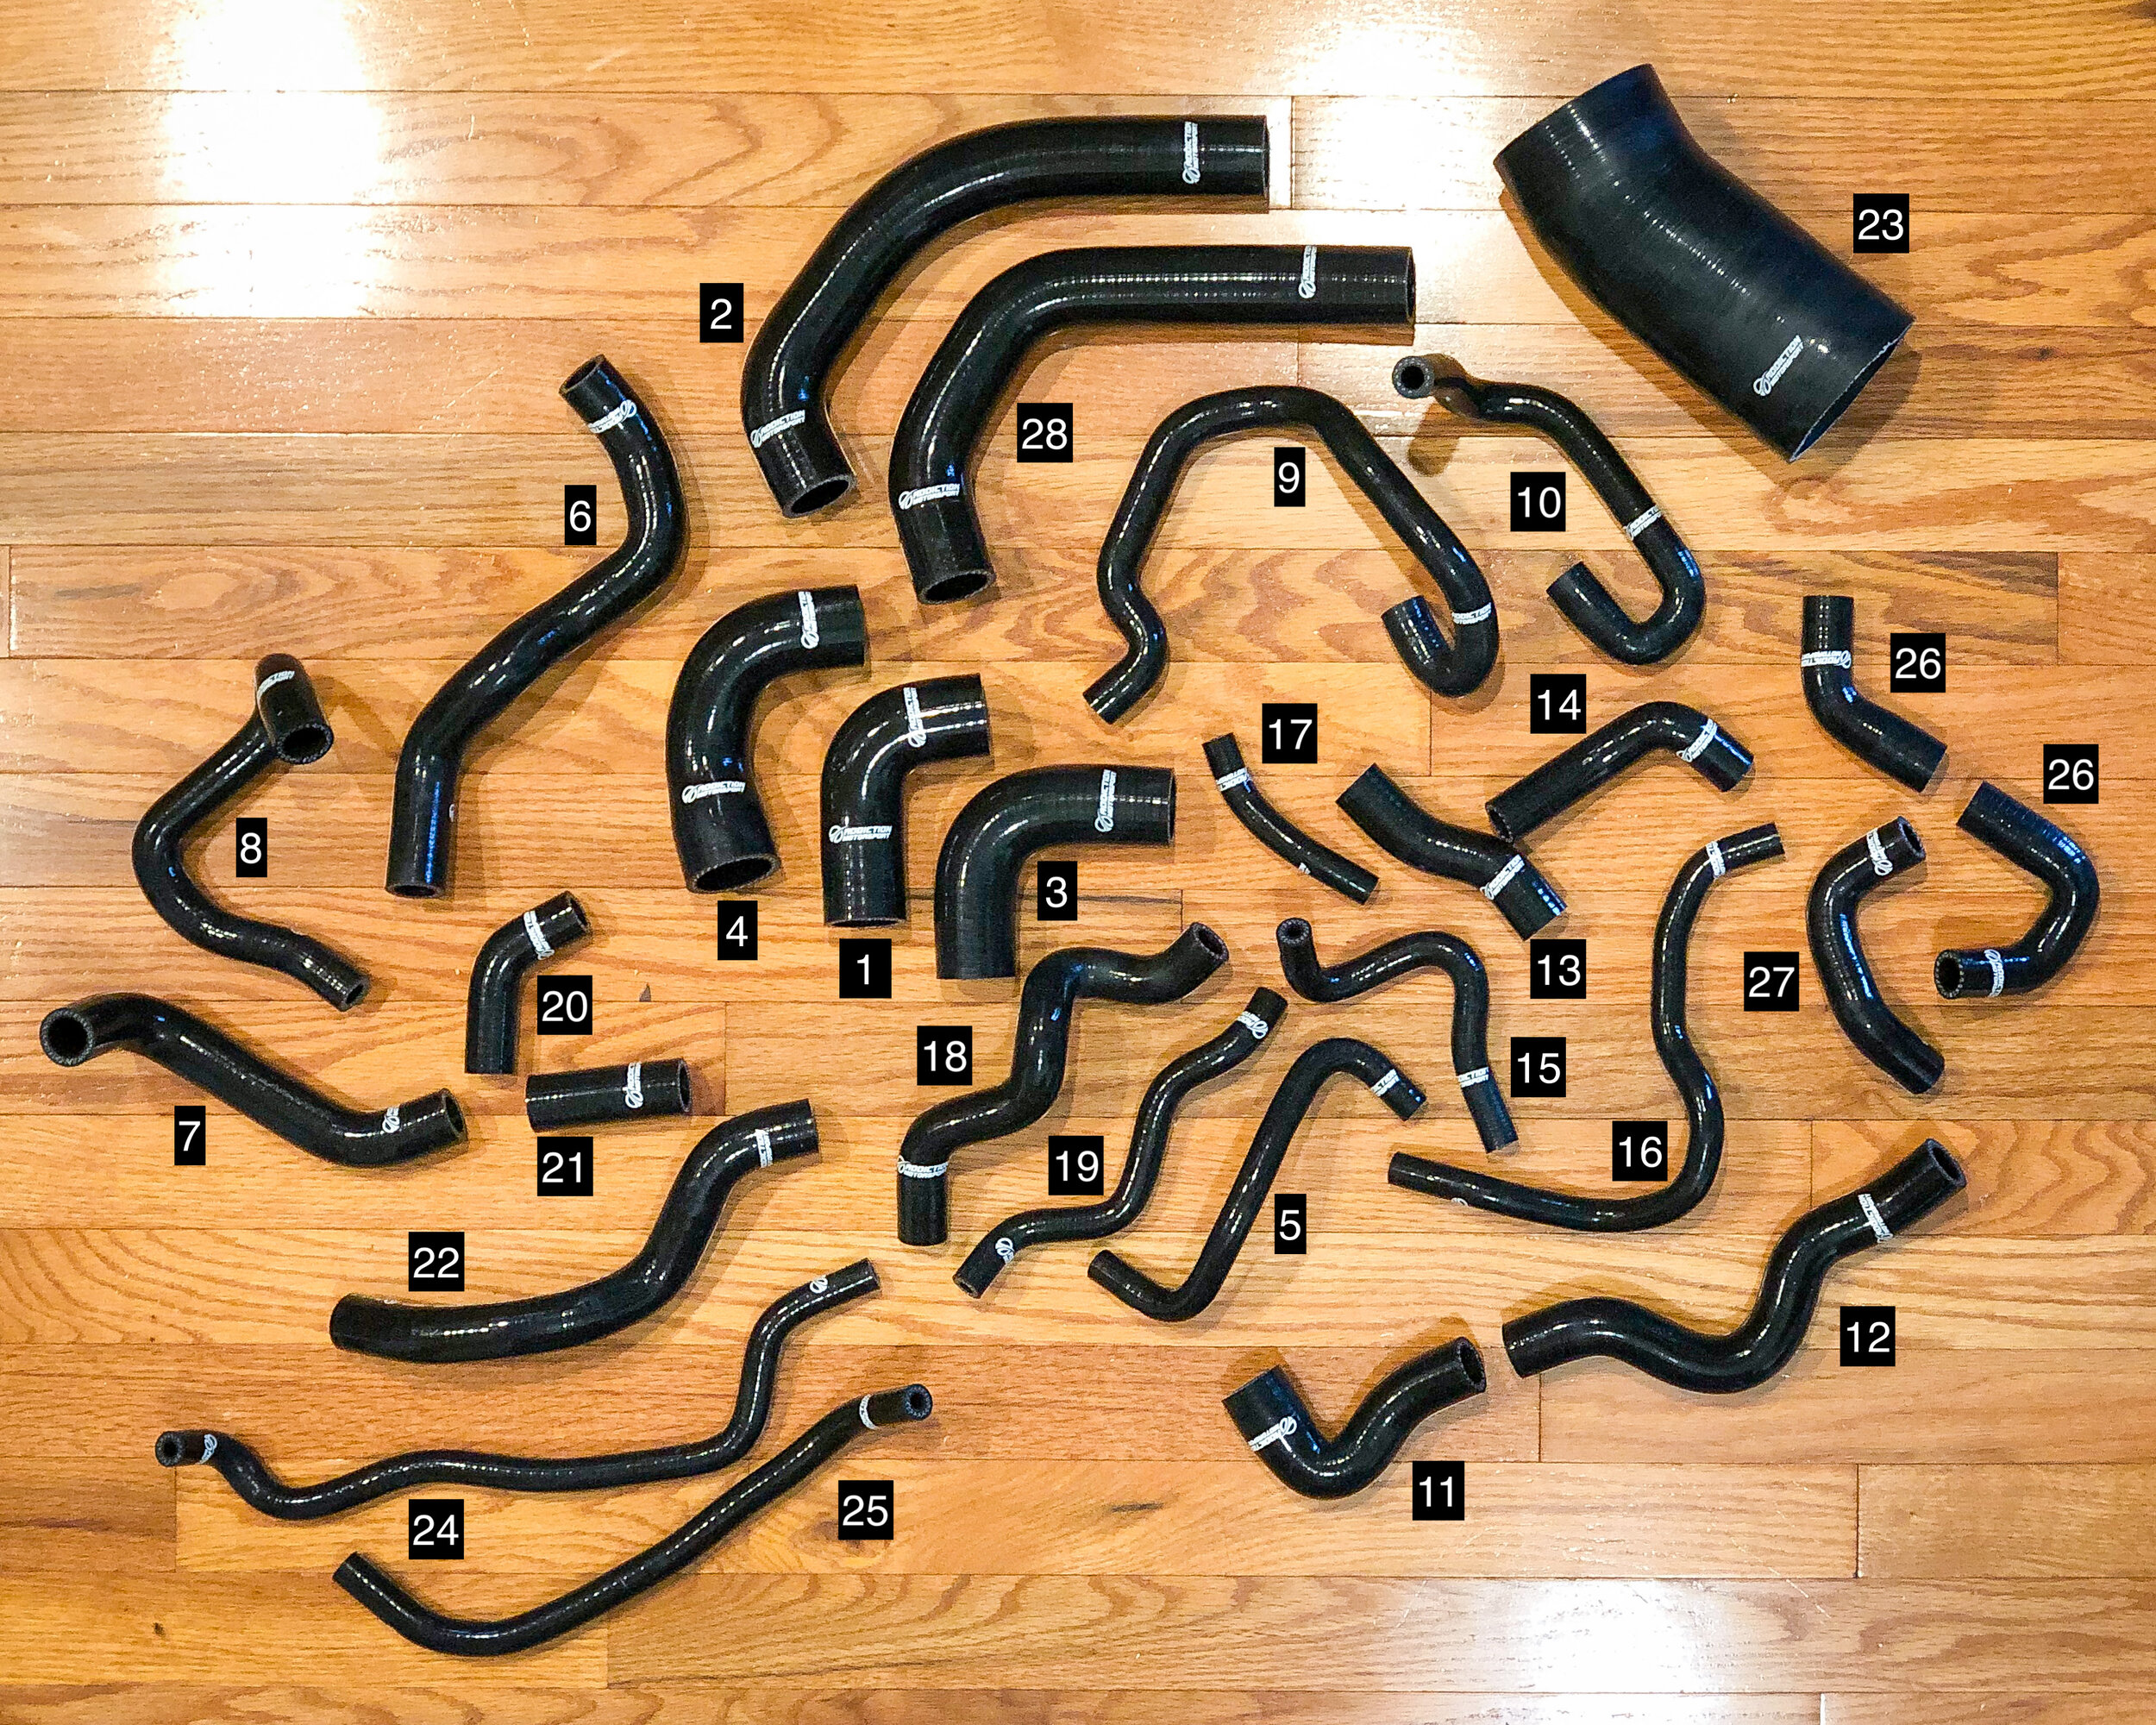
Forge Motorsport silicone coolant hoses
ECS Tuning billet aluminum oil filter housing
ECS Tuning magnetic oil drain plug
Liqui Moly 5W40
Liqui Moly DSG fluid
OEM Haldex fluid
Liqui Moly differential fluid
Exhaust
Milltek Sport Free Flow Exhaust Manifolds
Milltek Sport Downpipes
Milltek Sport Cat Replacement Pipe (Test Pipe)
Milltek Sport Link Pipe
Neuspeed resonated cat-back with removable baffles
Interior
OEM GTI dash trim
OEM GTI door trim
OEM GTI flip-up coin holder
OEM GTI map light/sunroof control (2006 only)
OEM aluminum glovebox handle
OEM RNS-510 (revision P)
OEM Dynaudio amp
OEM 9W7 bluetooth
OEM European light switch with front/rear fog lights
OEM European dash cubby
OEM European dash tray
OEM European cup holder
OEM European seat drawers
OEM Manual shifter bezel and boot
OEM .:R Monster mats
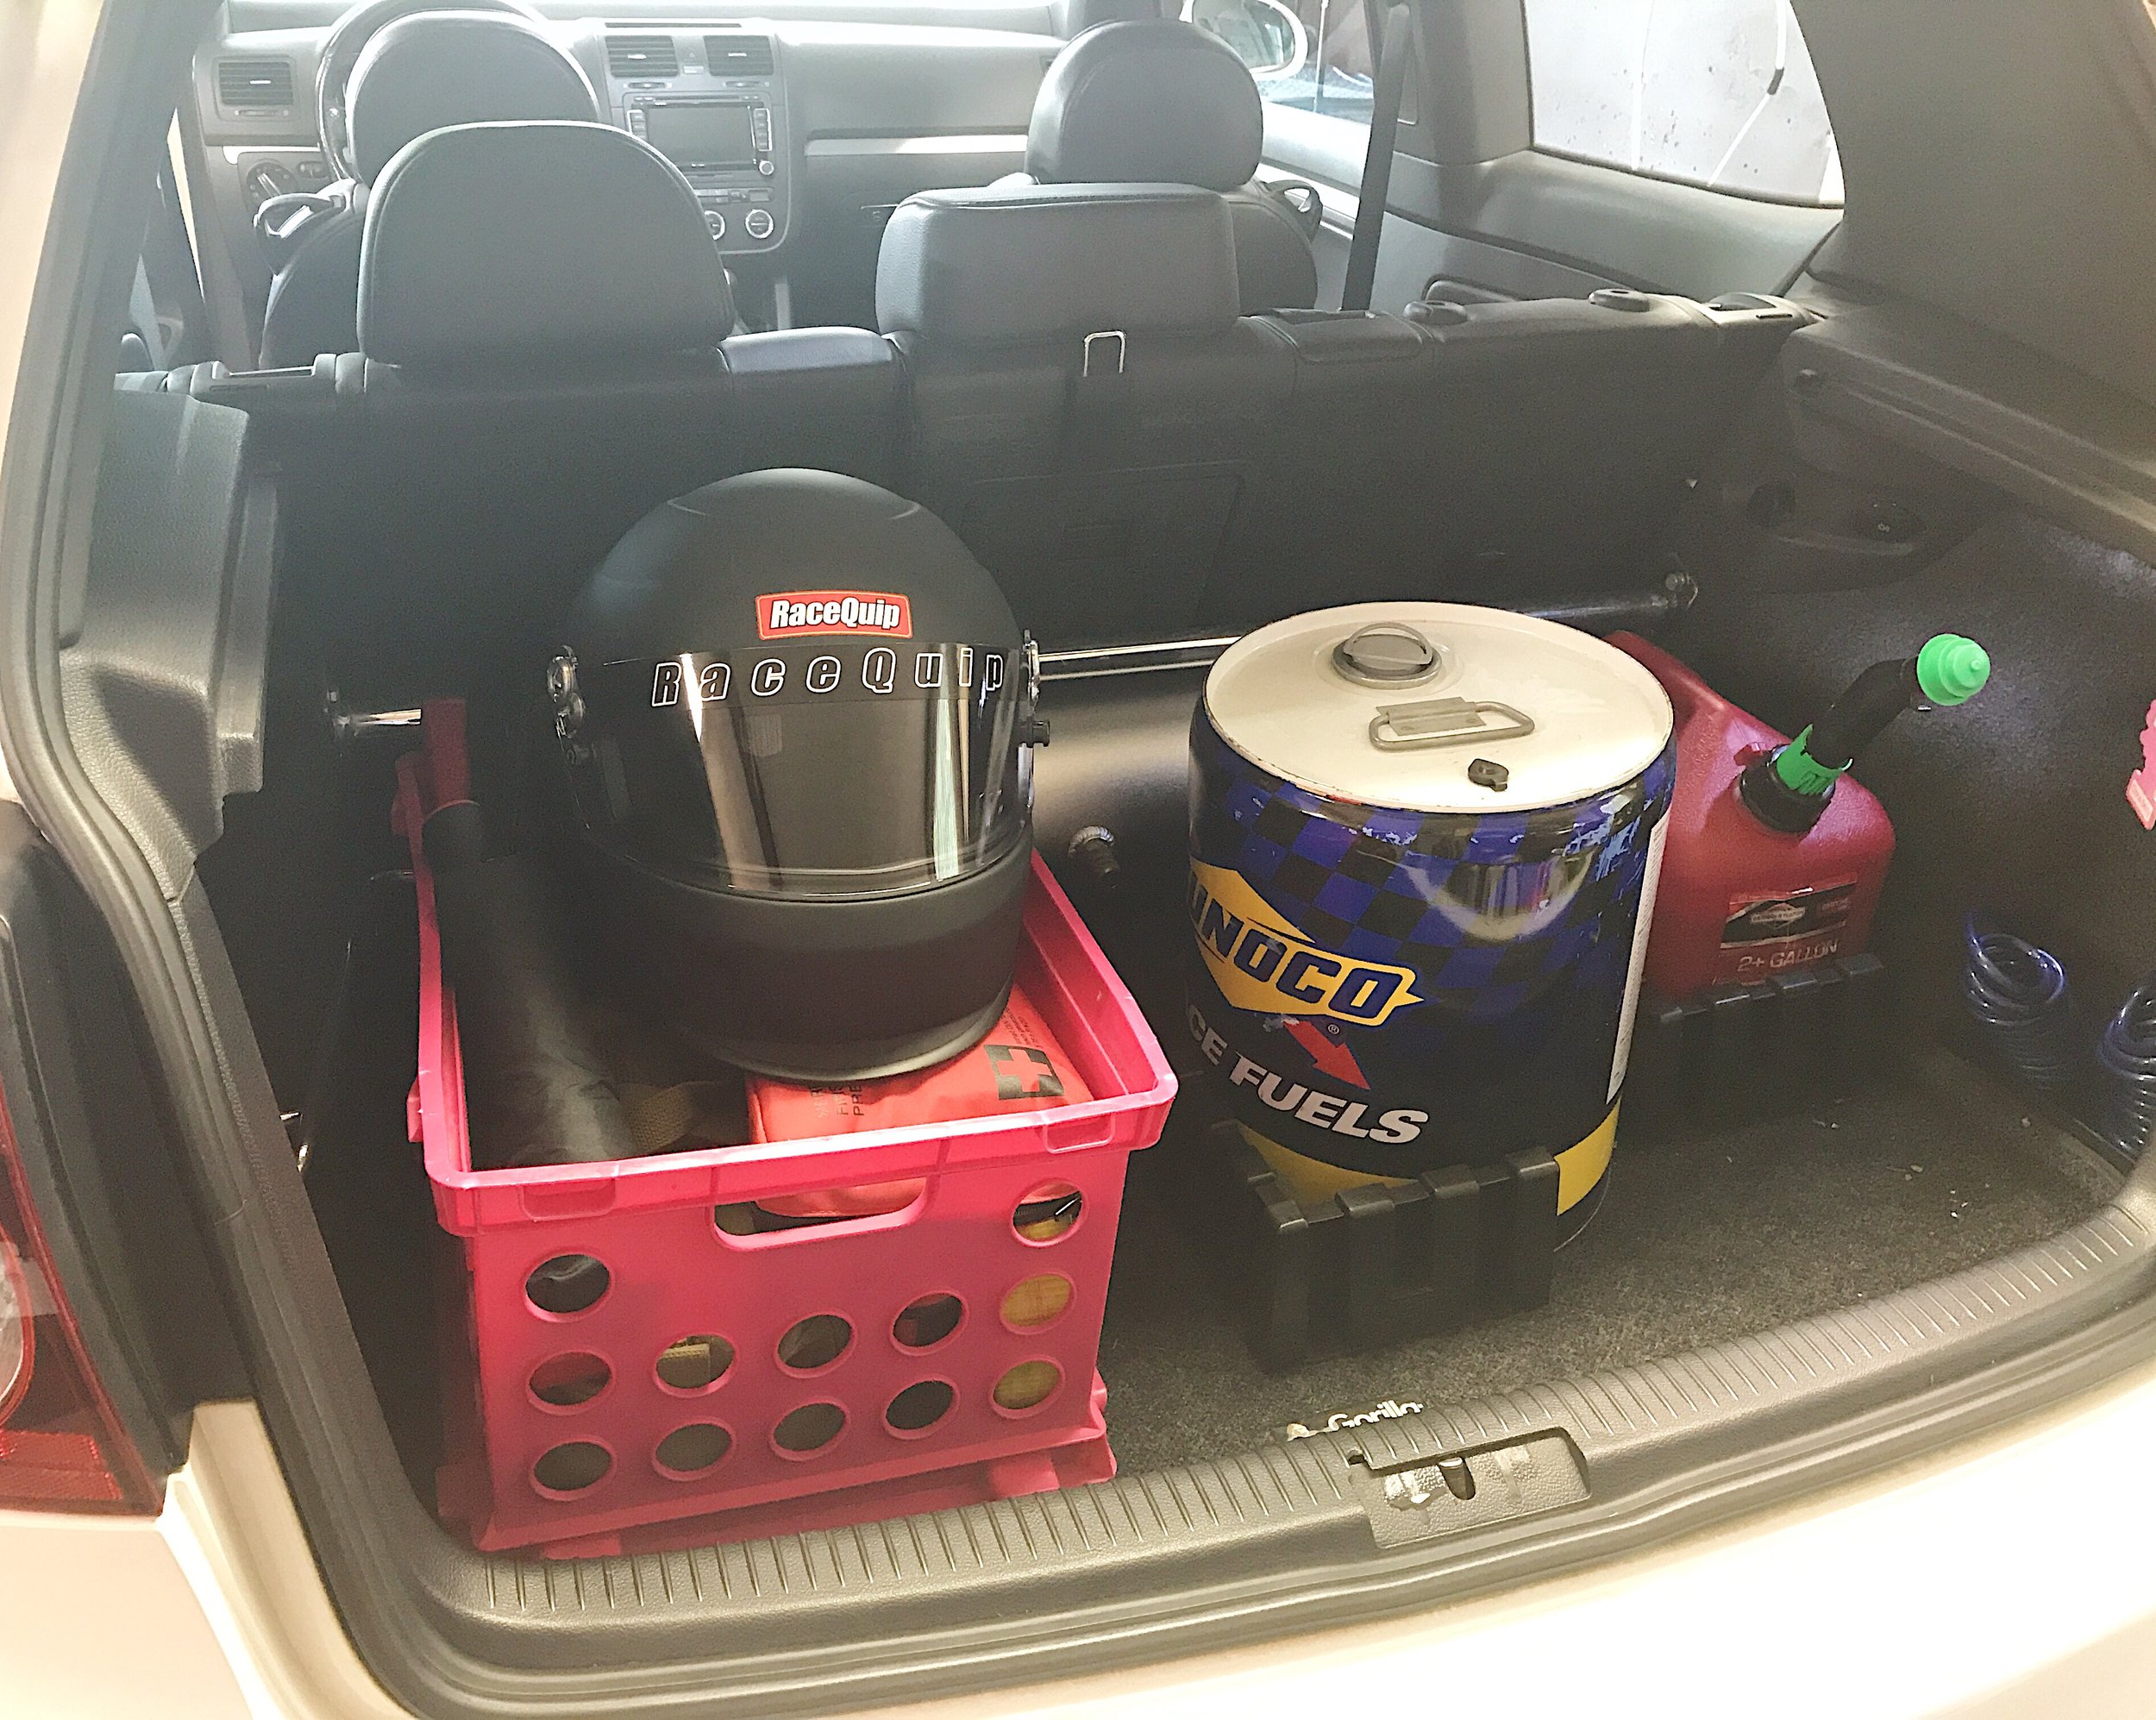
OEM Gorilla Gear trunk mat with luggage blocks
OEM Warning triangle
OEM Transboard Tray
OEM door warning lights (PerformanceLEDs bulbs)
Double Apex USB Charger
Double Apex aux-in
Double Apex garage door opener
OEM .:R36 dead pedal
VWVenison black hazard switch cover
ECS Tuning smooth beauty bezels
Creations Motorsport .:R Alloy seat handle inserts
EuroSport rear upper stress bar
S2T aluminum paddle shifters - silver anodized
PanaVise InDash mount
PanaVise PortaGrip phone holder
Exterior
OEM .:R valve stem caps
OEM .:R32 license plate frame
OEM Passat mirror caps
OEM rear view camera
OEM European .:R32 front bumper
Color matched rear reflectors
Opti-Coat Pro+ ceramic coating
Opti-Glass Pro ceramic coating
Lighting
OEM projector fogs
Hella 9006 yellow fog light bulbs
SRS-Tec fog light grilles
Lamin-X clear head lamp film
Lamin-X yellow fog lamp film
in.pro smoked mirror turn signals
in.pro European LED Taillights with rear fog
Ziza pure yellow flash-to-pass bulbs (H7)
Suspension
Air Lift Auto Pilot v2 management
Air Lift Performance air struts
Air Lift double bellow air springs
Air Lift Performance rear shocks
Air Zenith OB2 compressor
3/8" lines
5 gallon tank
Powerflex Race (black) front control arm bushings (forward and rearward)
Powerflex Race (black) pendulum mount bushing
Powerflex Race (black) rear control arm bushing
Powerflex Race (black) trailing arm bushing
H&R 24mm adjustable front sway bar
H&R 26mm adjustable rear sway bar
Neuspeed rear endlinks
TyrolSport front dead set kit
TyrolSport rear dead set kit
Wheels
BBS CO; 18" x 8", ET44
Nitto NT555 G2, 225/40R18 92W
Apex Competition Systems 65mm race studs | M14 x 1.5
Apex Competition Systems R14 ball seat nuts | M14 x 1.5
Brakes
G-Loc GS1 brake pads
Racing Brake 2299 two piece front rotor (slot); 17.5 lbs
Racing Brake 2182 two piece rear rotor (open slot); 11.5 lbs
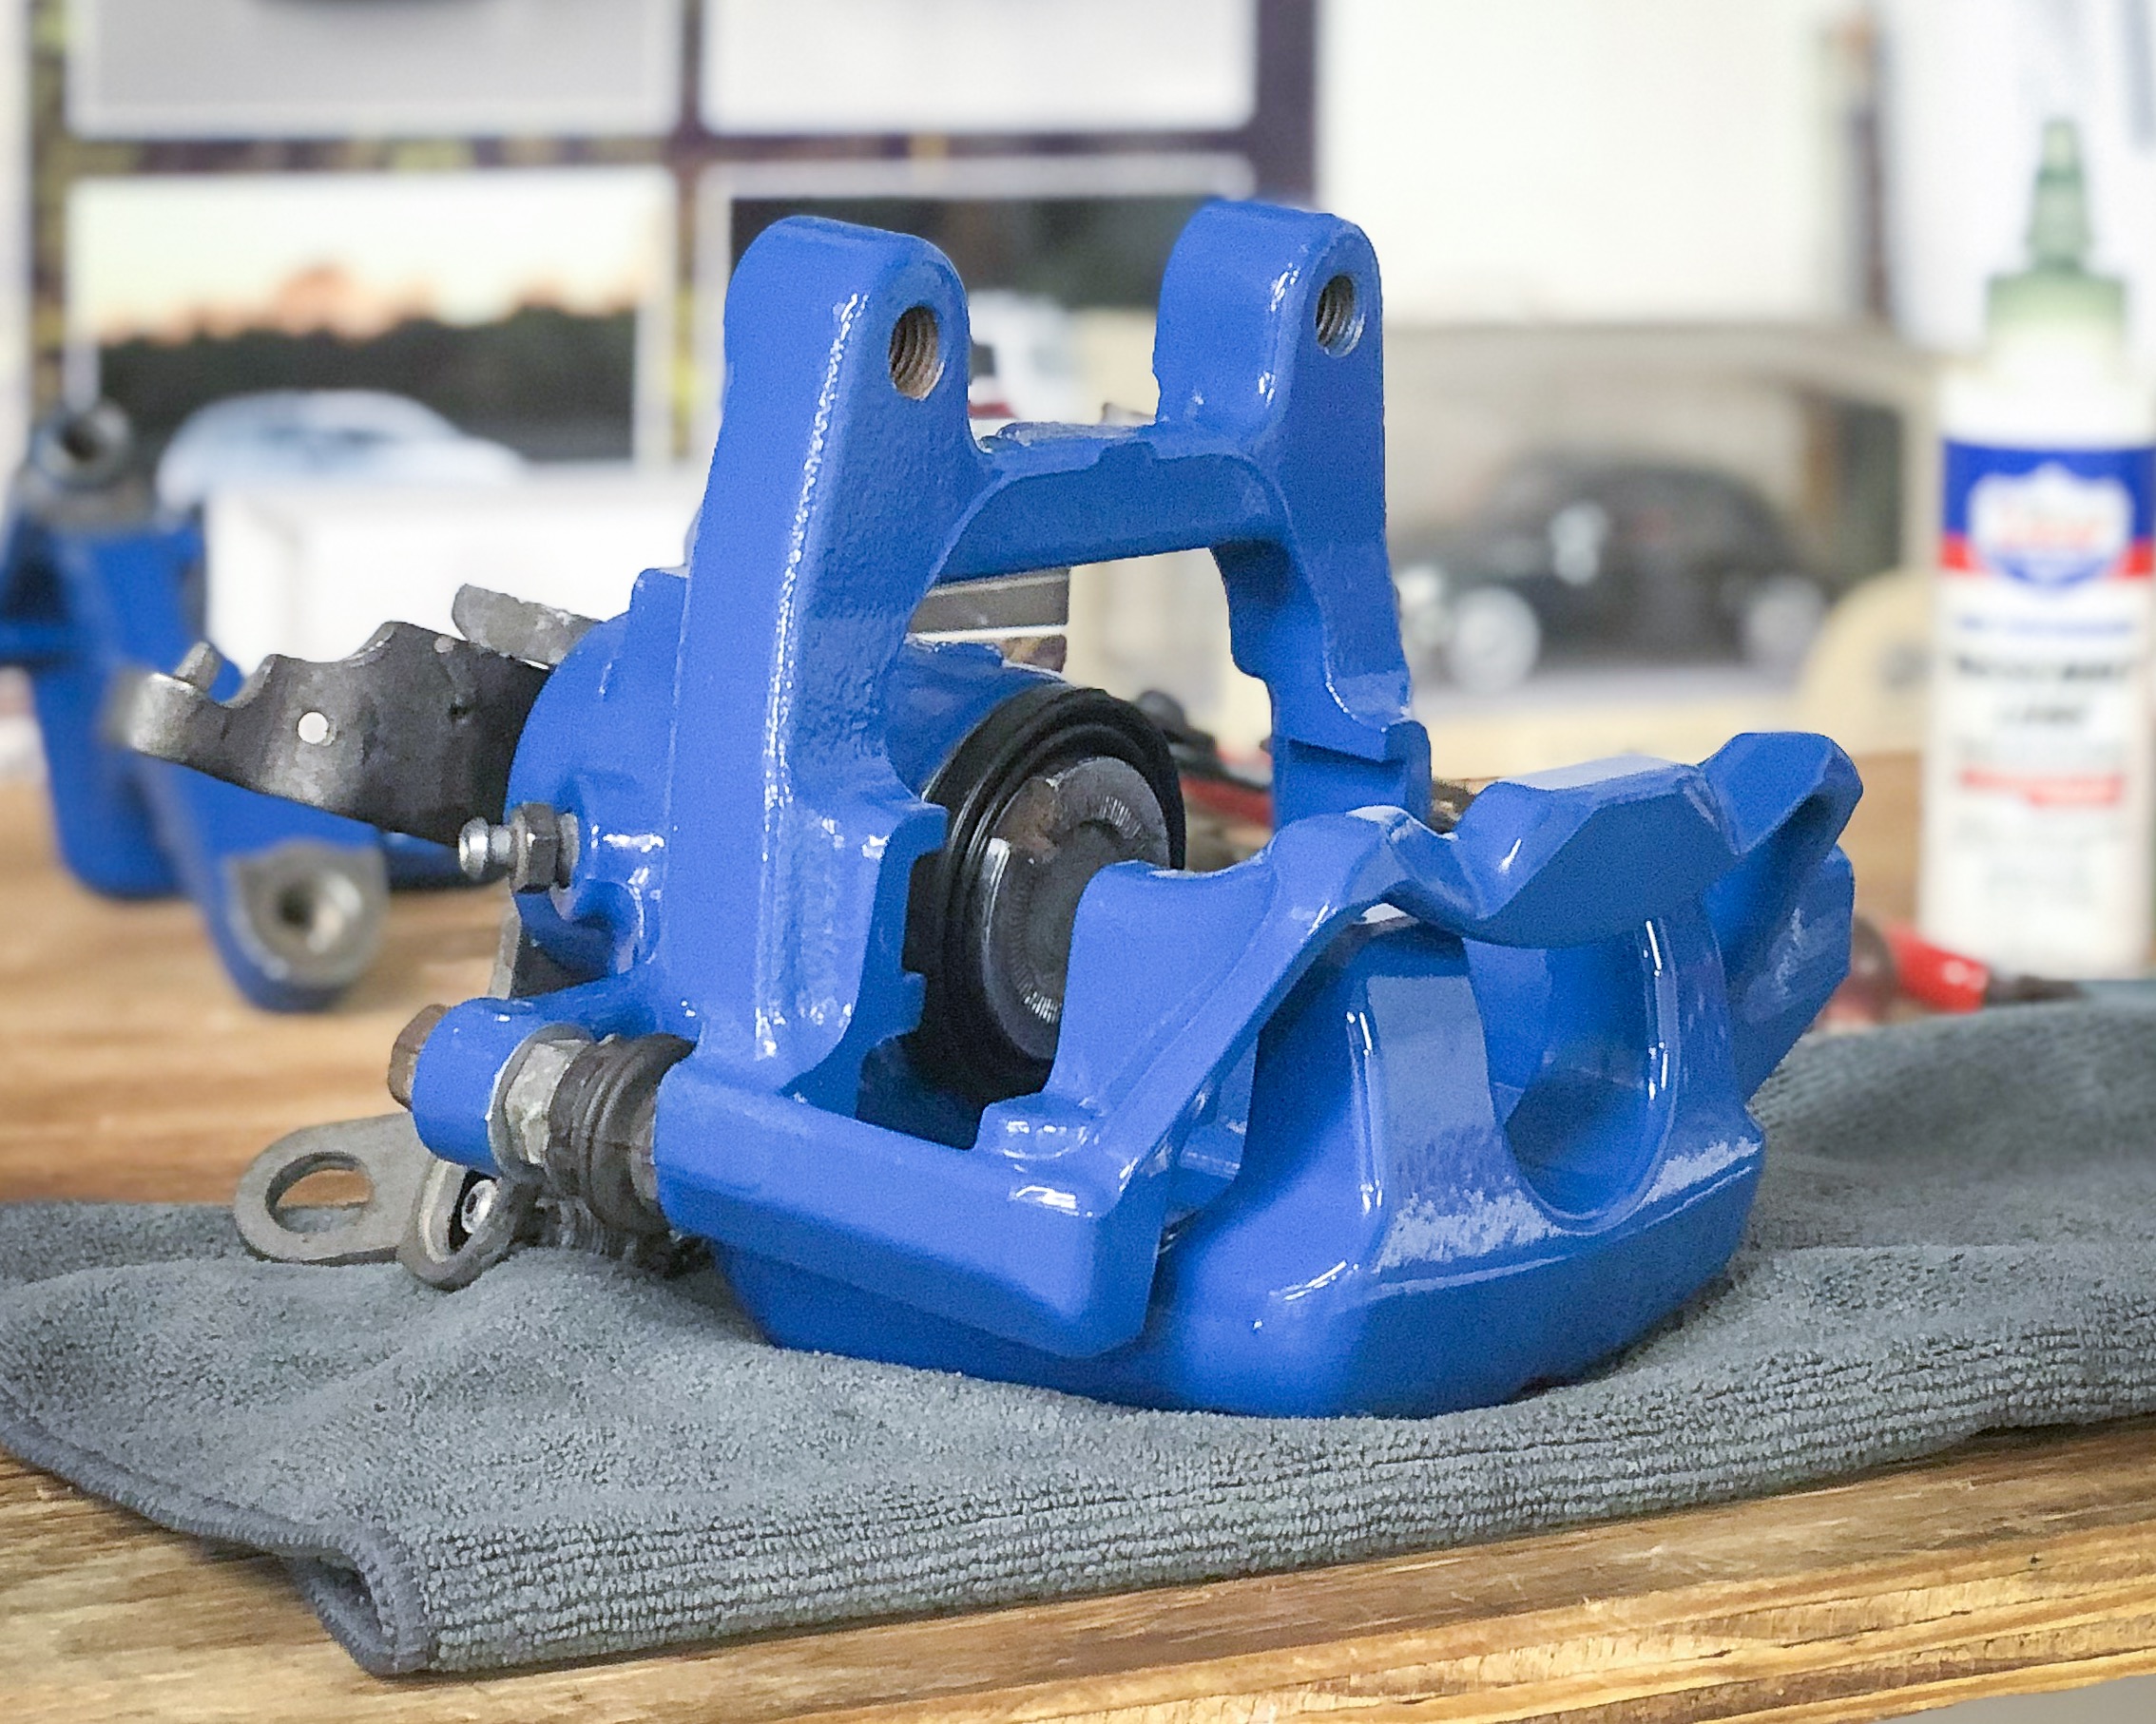
Tyrolsport front brake caliper stiffening kit
USP Motorsports stainless steel brake lines
Motul RBF600
This is dedicated to the laughs of my daughters when I step on the accelerator through the turns and to the many people I have met and become close friends with through the VW owners community. It is also dedicated to my wife, Crystal, who allowed me to persuade her to trade in a GTI that we were upside down on for a car that just sucks down gas like Jim Lahey at a cheeseburger picnic. Thank you for the support and love over the years and in return, I will make sure your AWDTAXI is ready to go.


